Course localization
1. Adding a course language
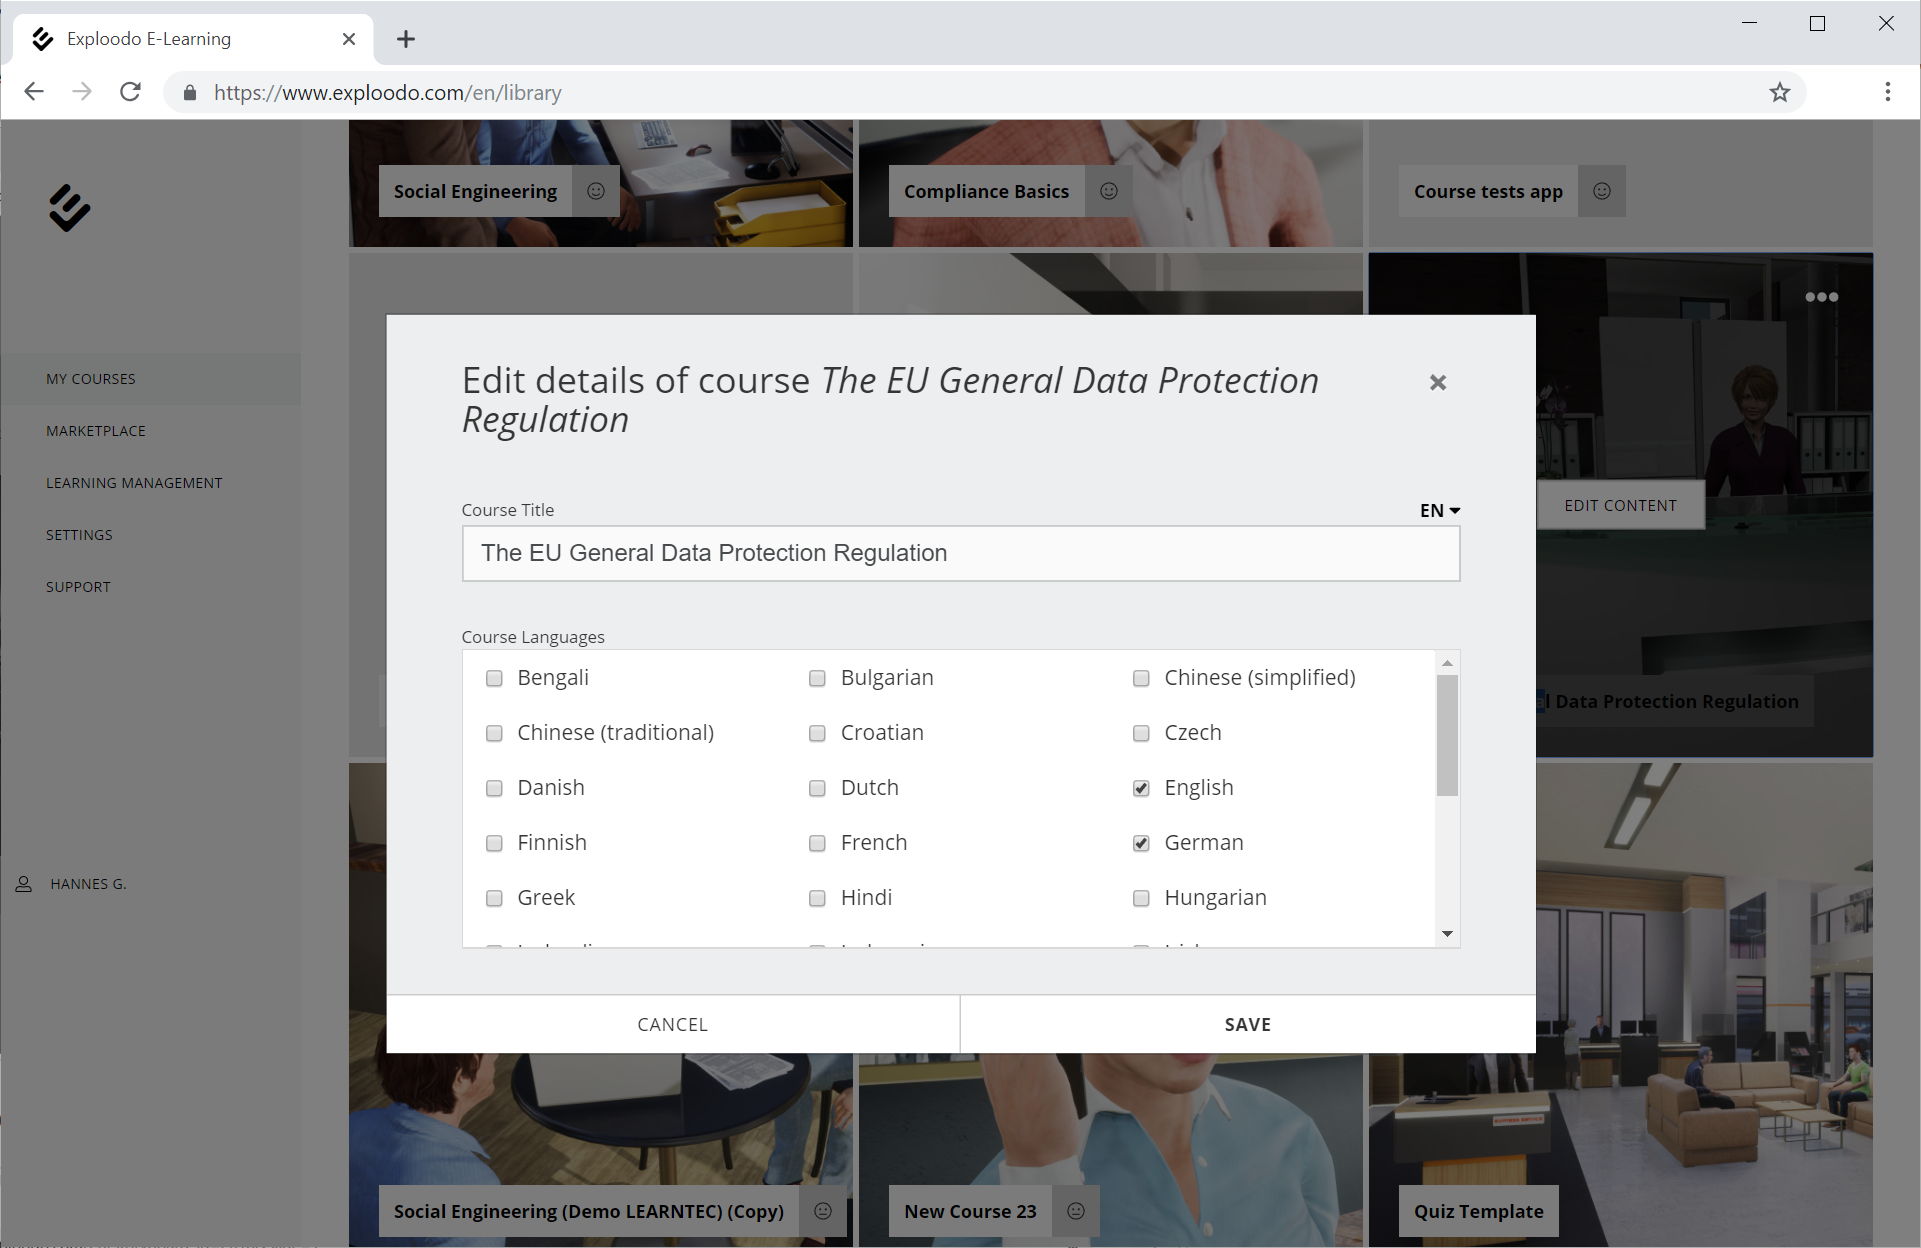
The standard language for new courses is English. However, you can add other languages too. To do so, go to the Exploodo course library, hover over a course with your cursor and click on the three dots to open the course menu. Select "Edit course details" in the menu to set the languages for your course.
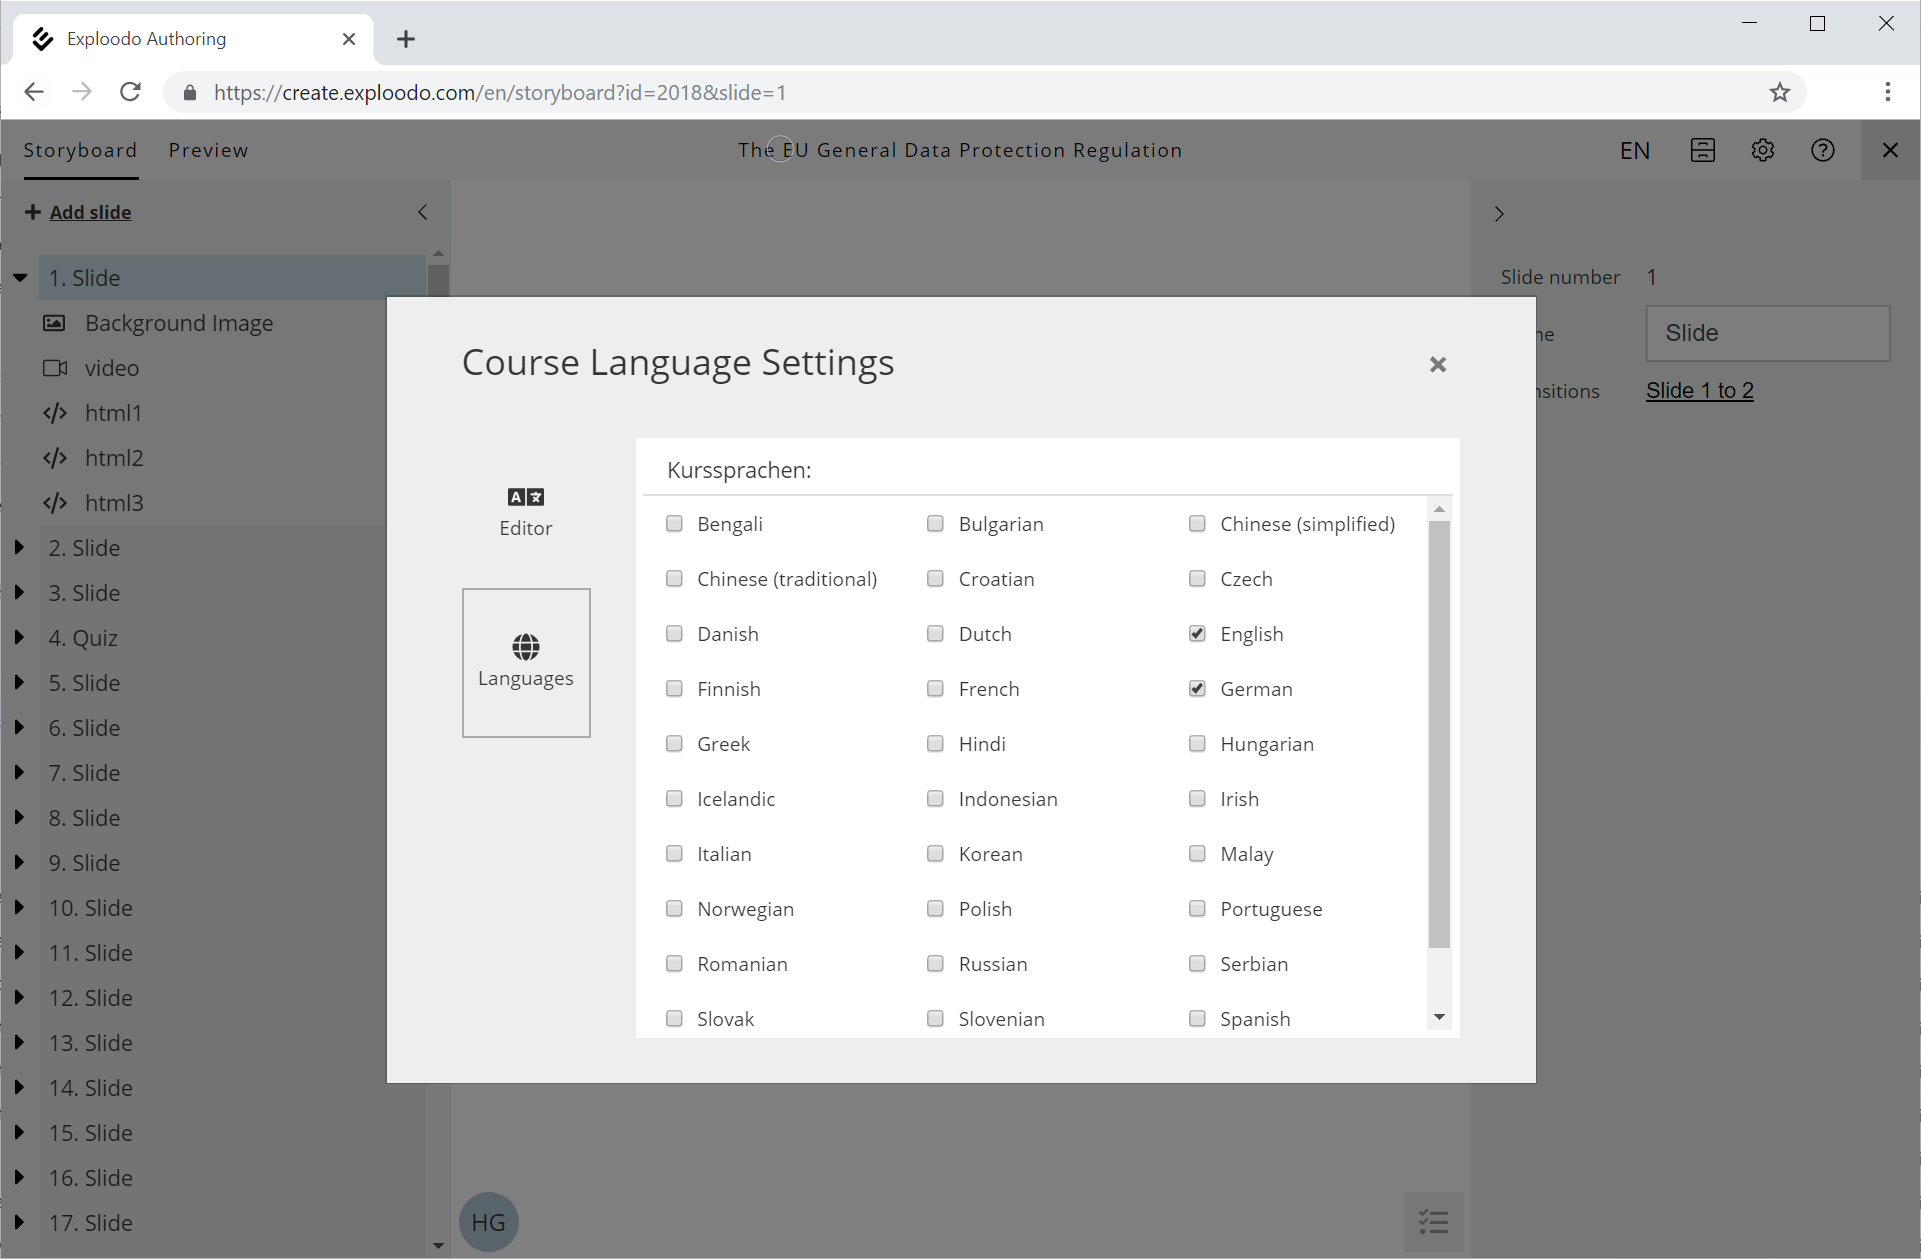
In the editing view of a course (after clicking on "edit content" in the course library) you can also set the languages for your course by opening the "Settings" menu in the top right corner.
2. Localizing course titles
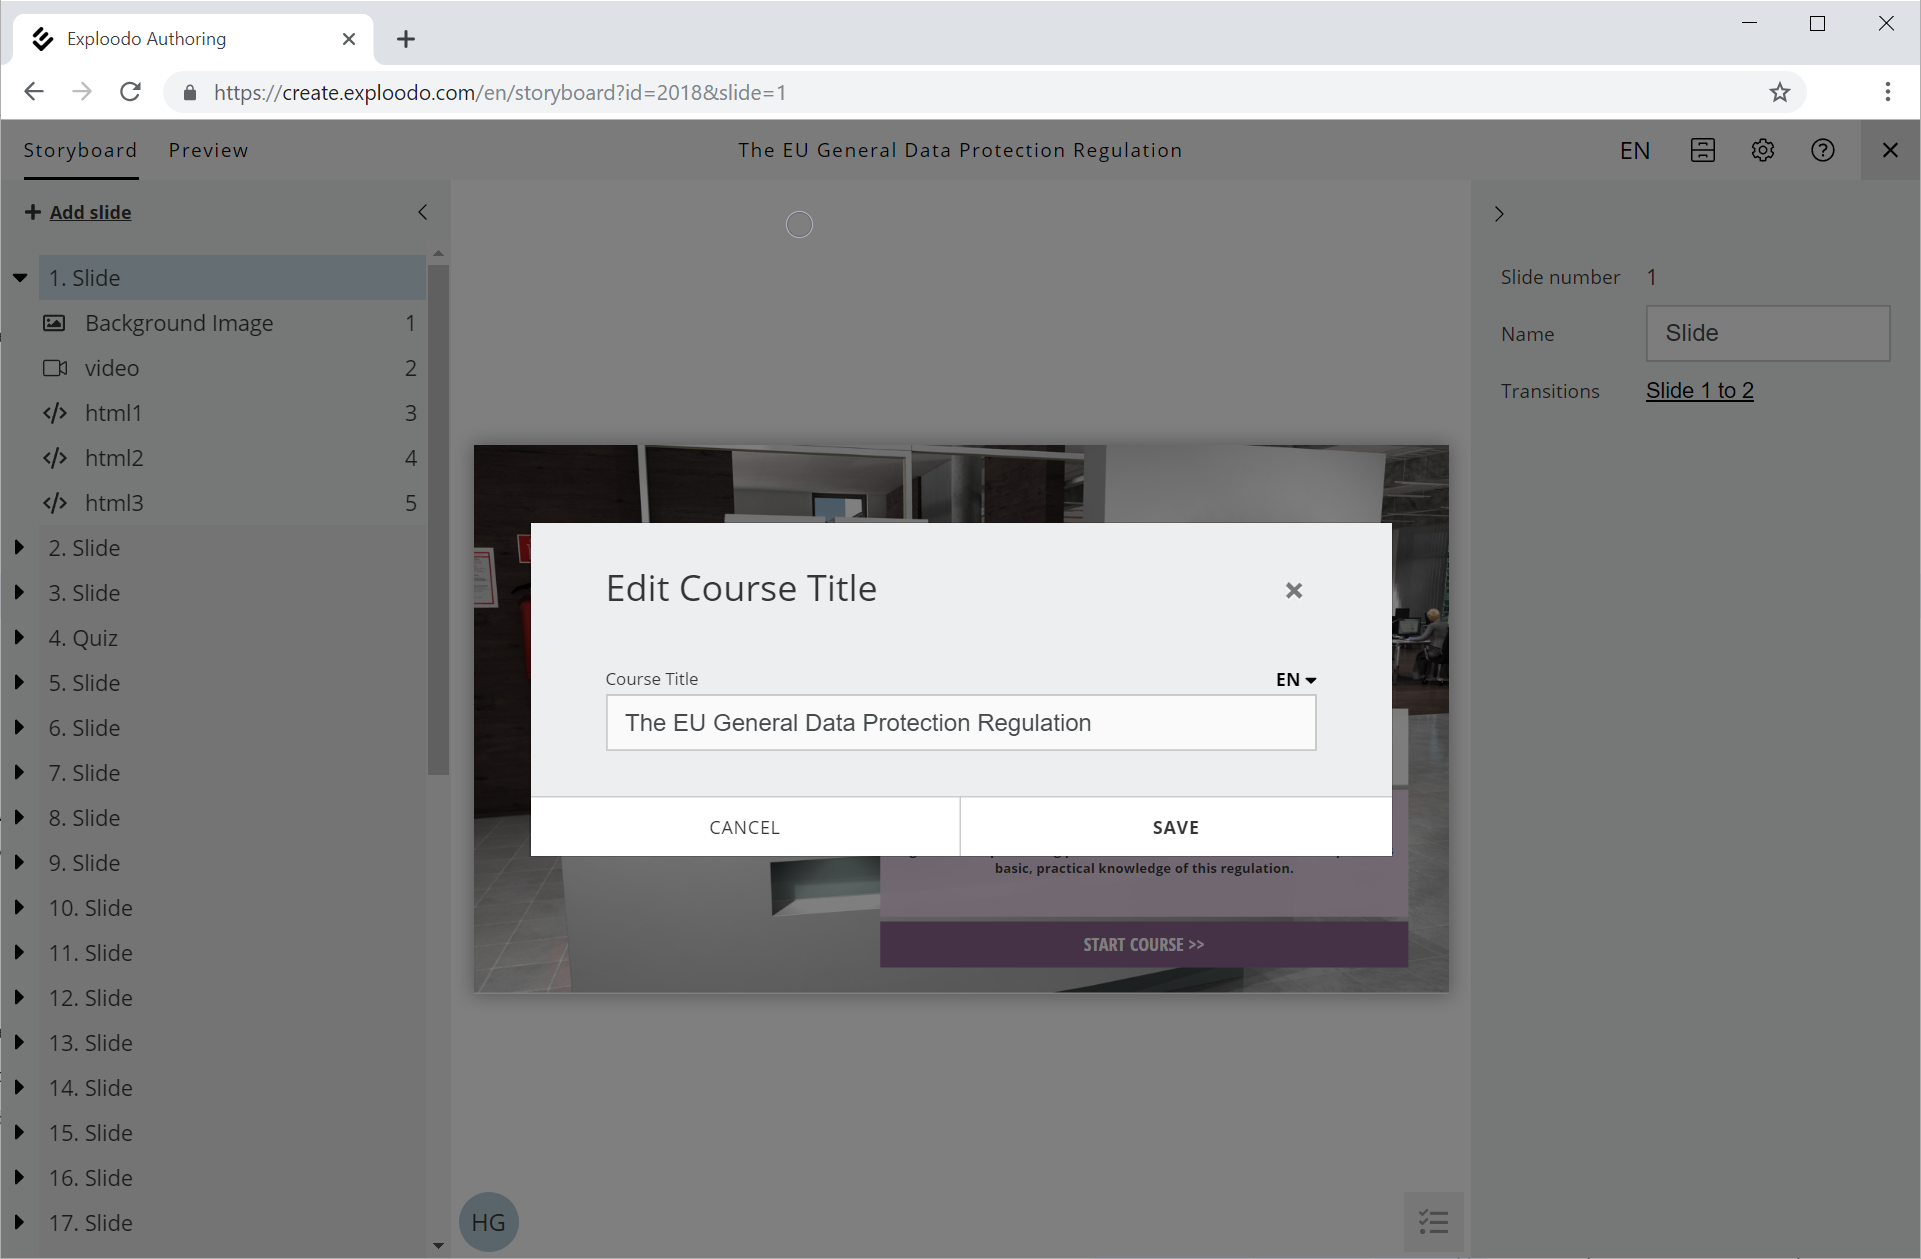
If you select various languages for a course, you can also enter course title and course contents for each language. To do so, click on the course title in the editing view.
3. Setting the language for individual content items
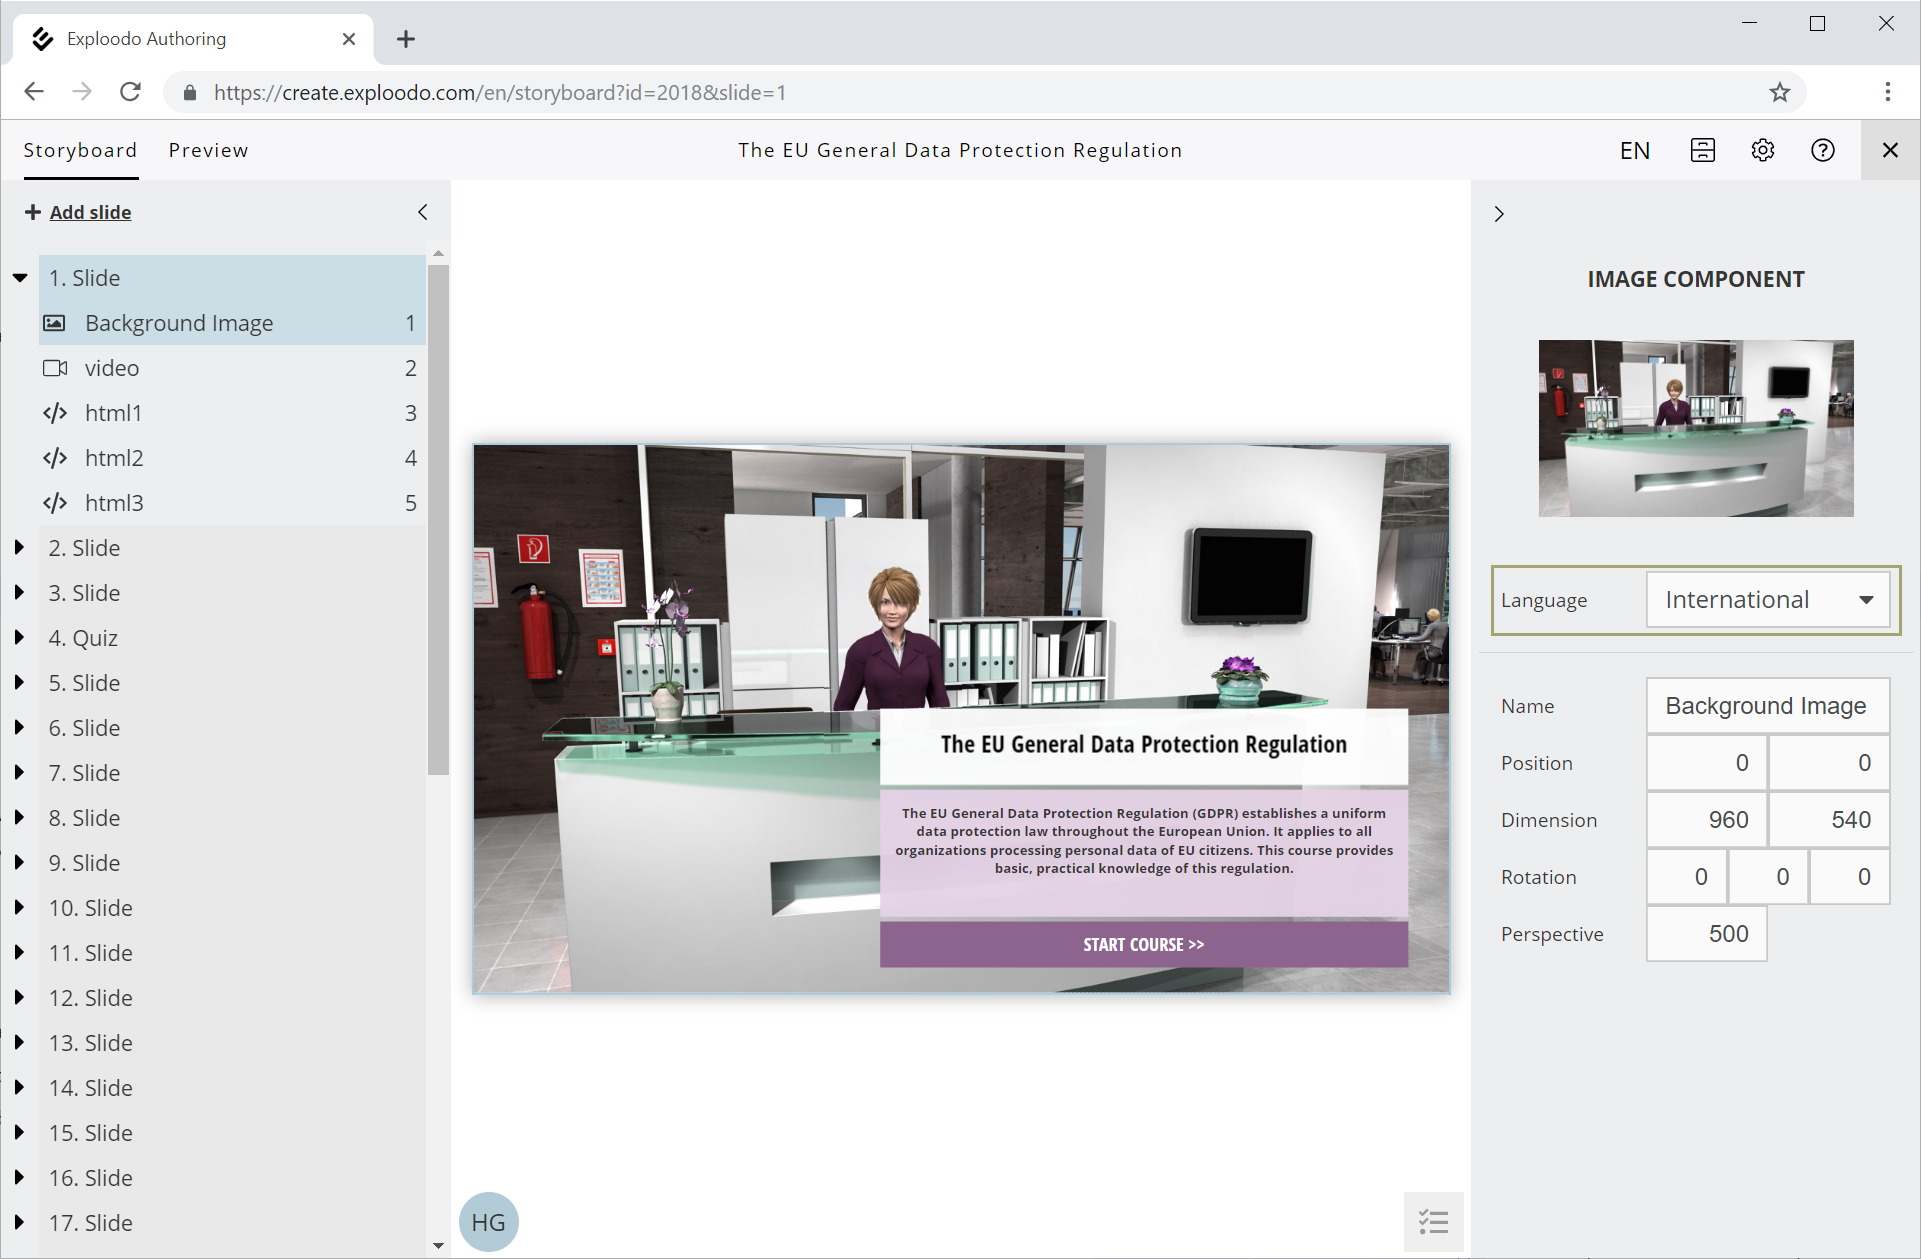
Course authors can also set a language for content items. In addition to the course languages, each component (content item) on a slide also offers the language option "International". This setting is used as a fallback in case you did not (wish to) define a translation for the component in the active language. "International" is also the standard setting for image, video and icon components.
Example: An image without text can be displayed in the same way in all languages. For this reason, it is defined as an image component with the language setting "International" and therefore displayed in all languages.
4. Setting the editing language
In the editing view, authors can select the editing language of their choice under "Languages" in the menu in the top right corner.
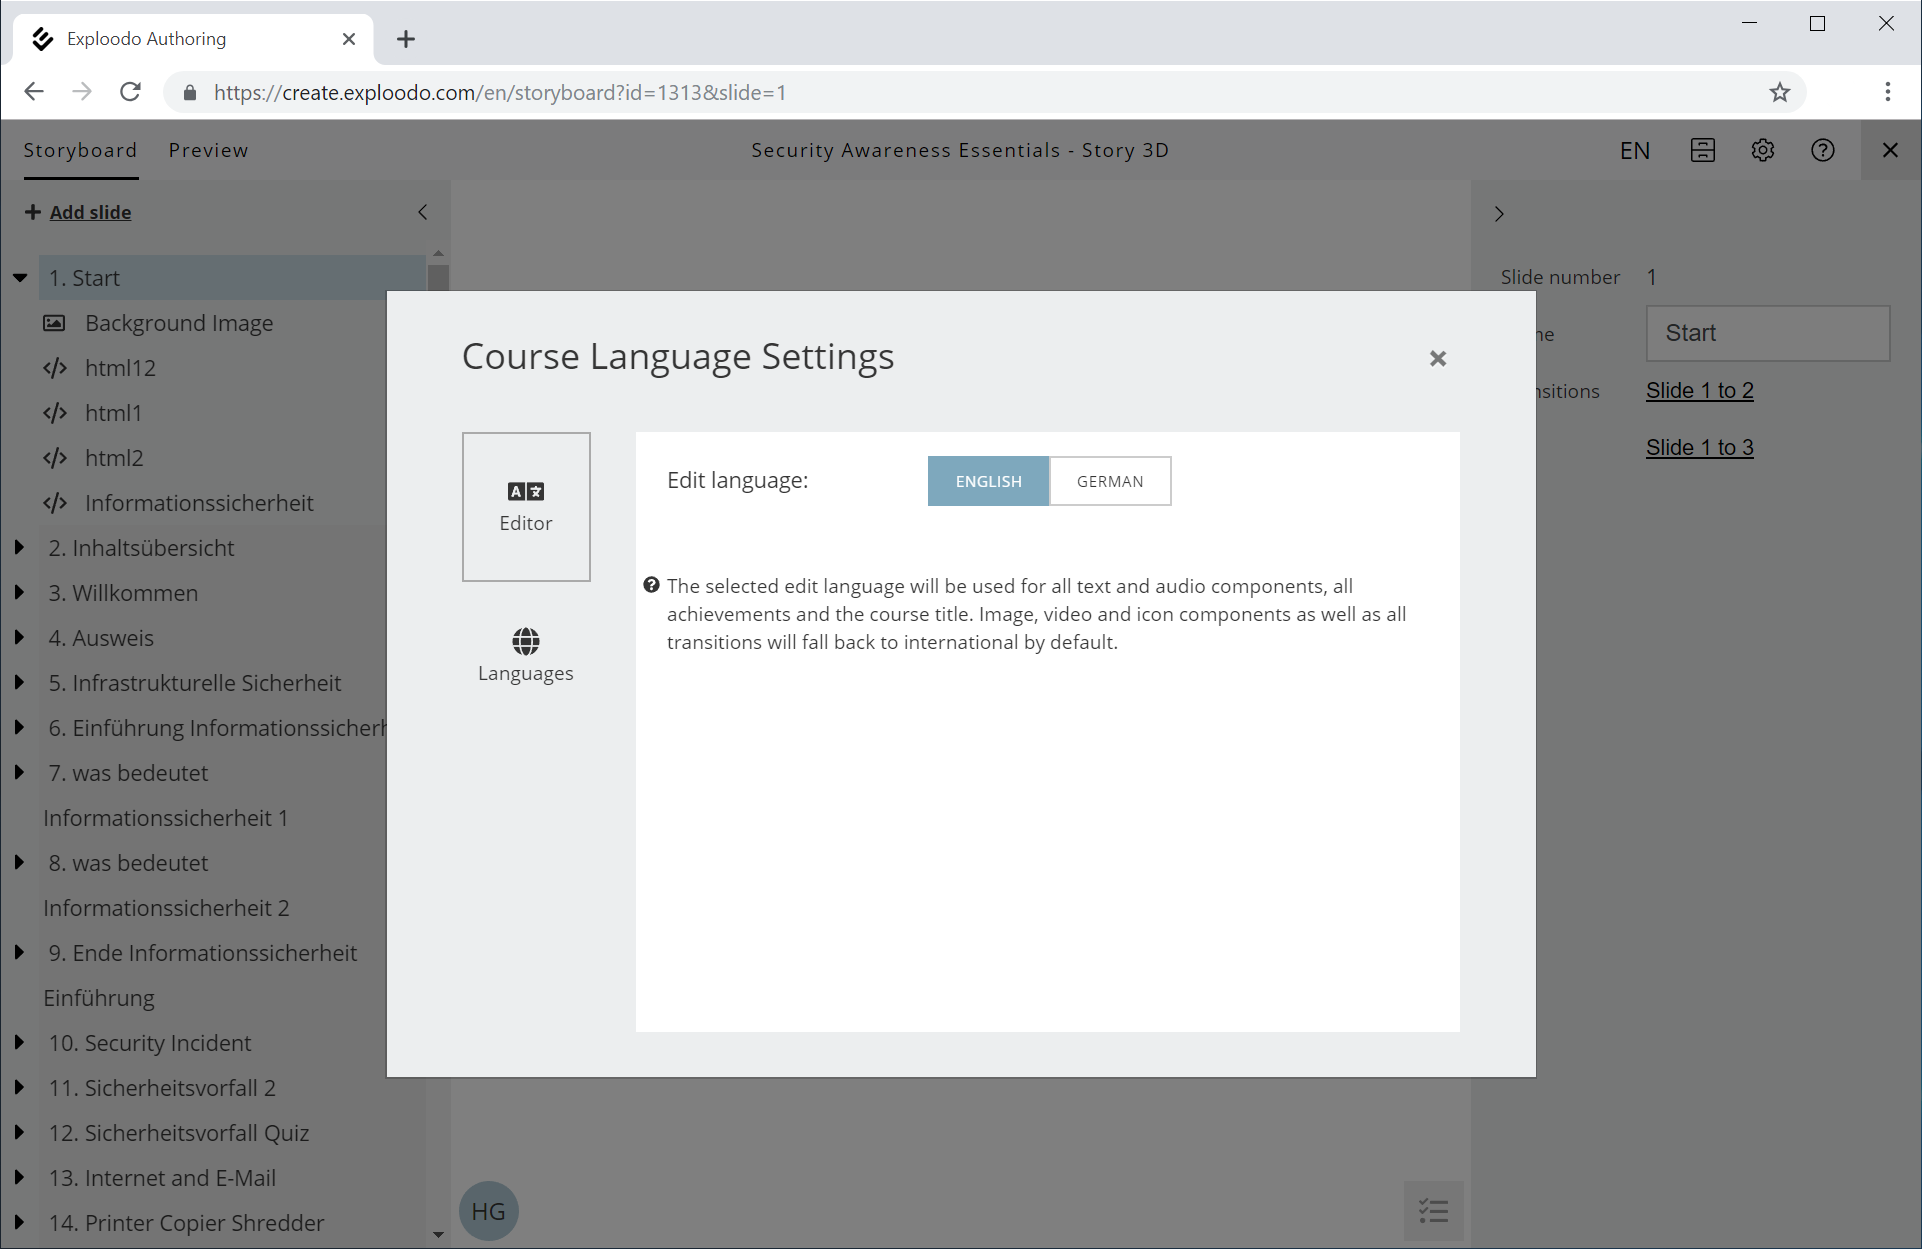
The selected language will be used for all text and audio components, achievements and the displayed course title. Image, video and icon components will be set.