Creating courses
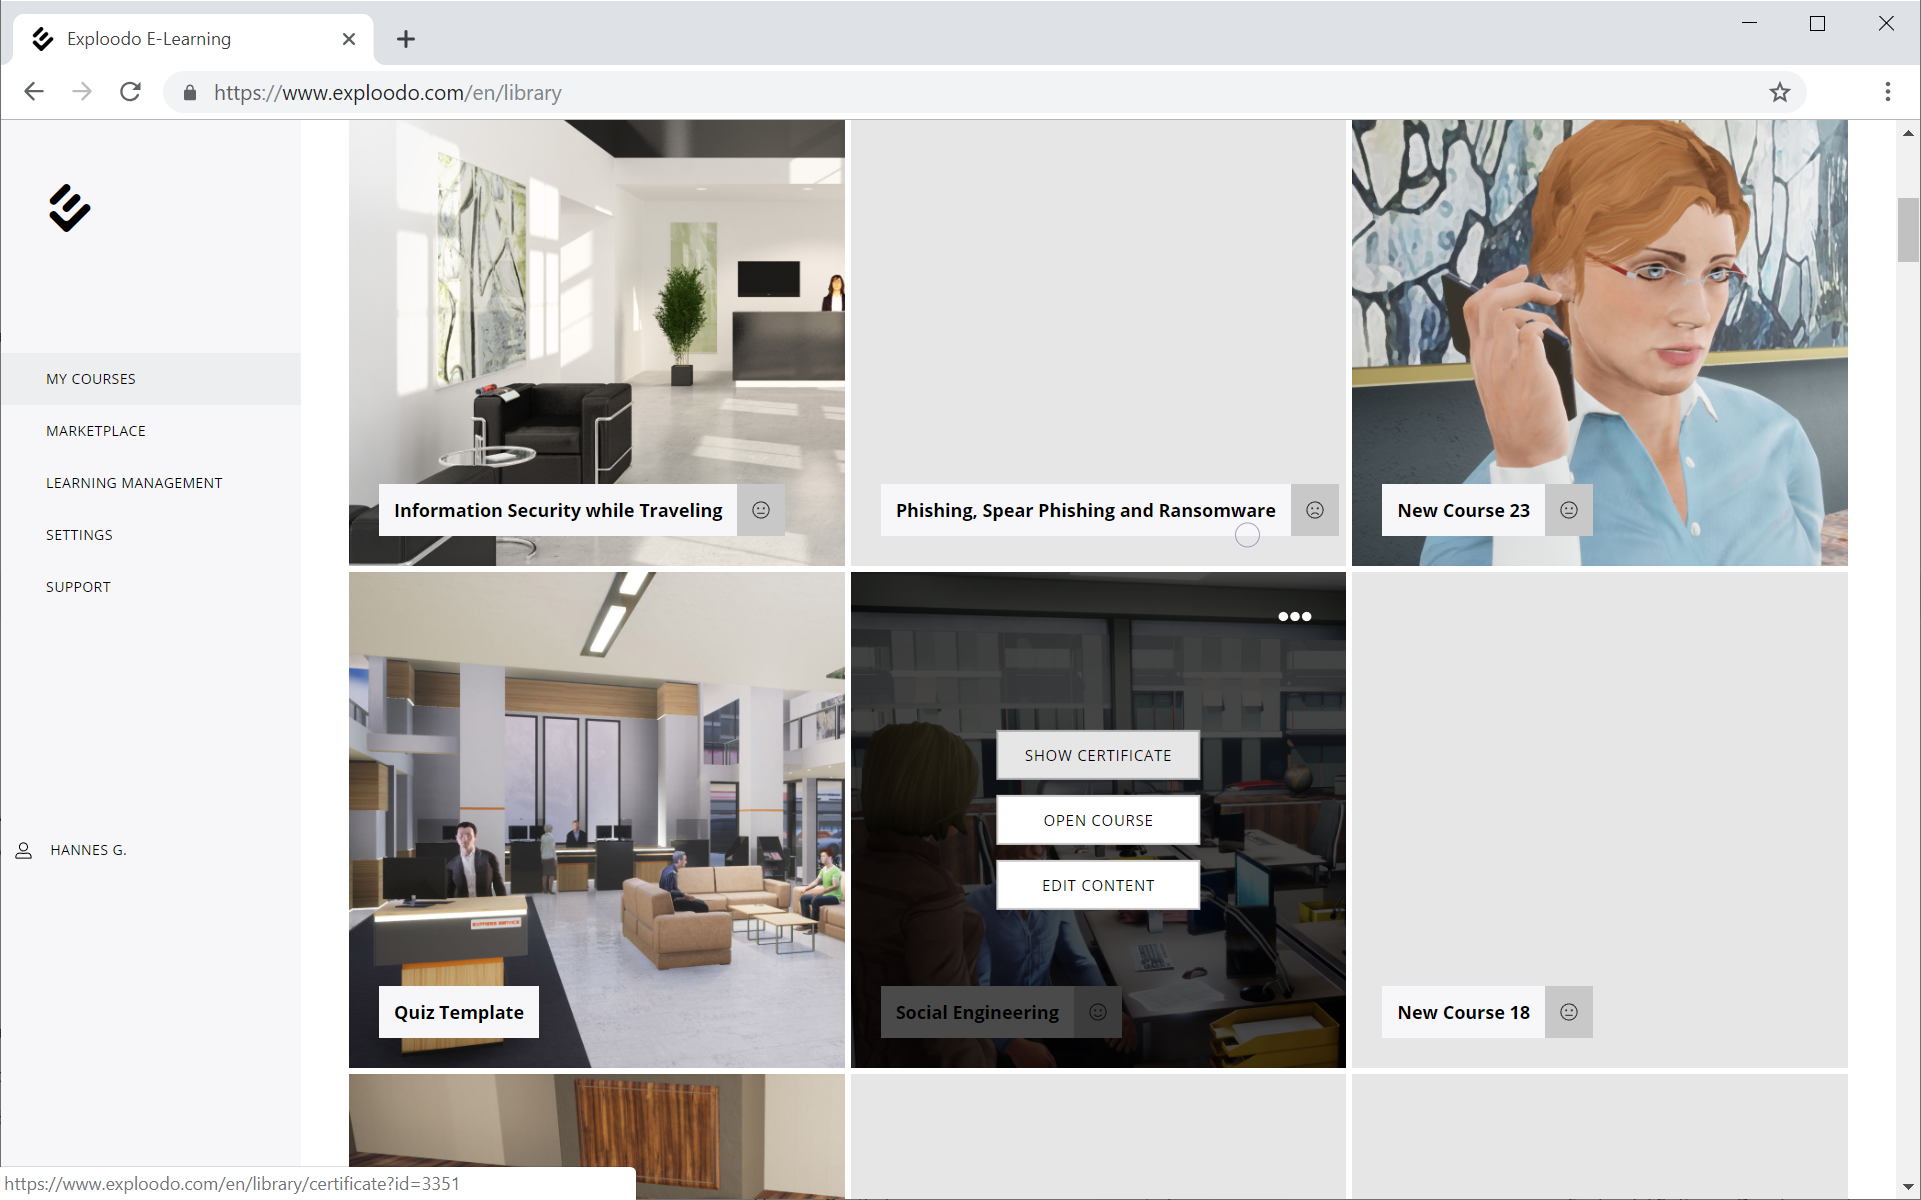
If you want to edit courses, you have to start off in the Exploodo course library. Click on the button "Edit Content" to make changes to your course.
1. Creating and deleting slides
Creating slides
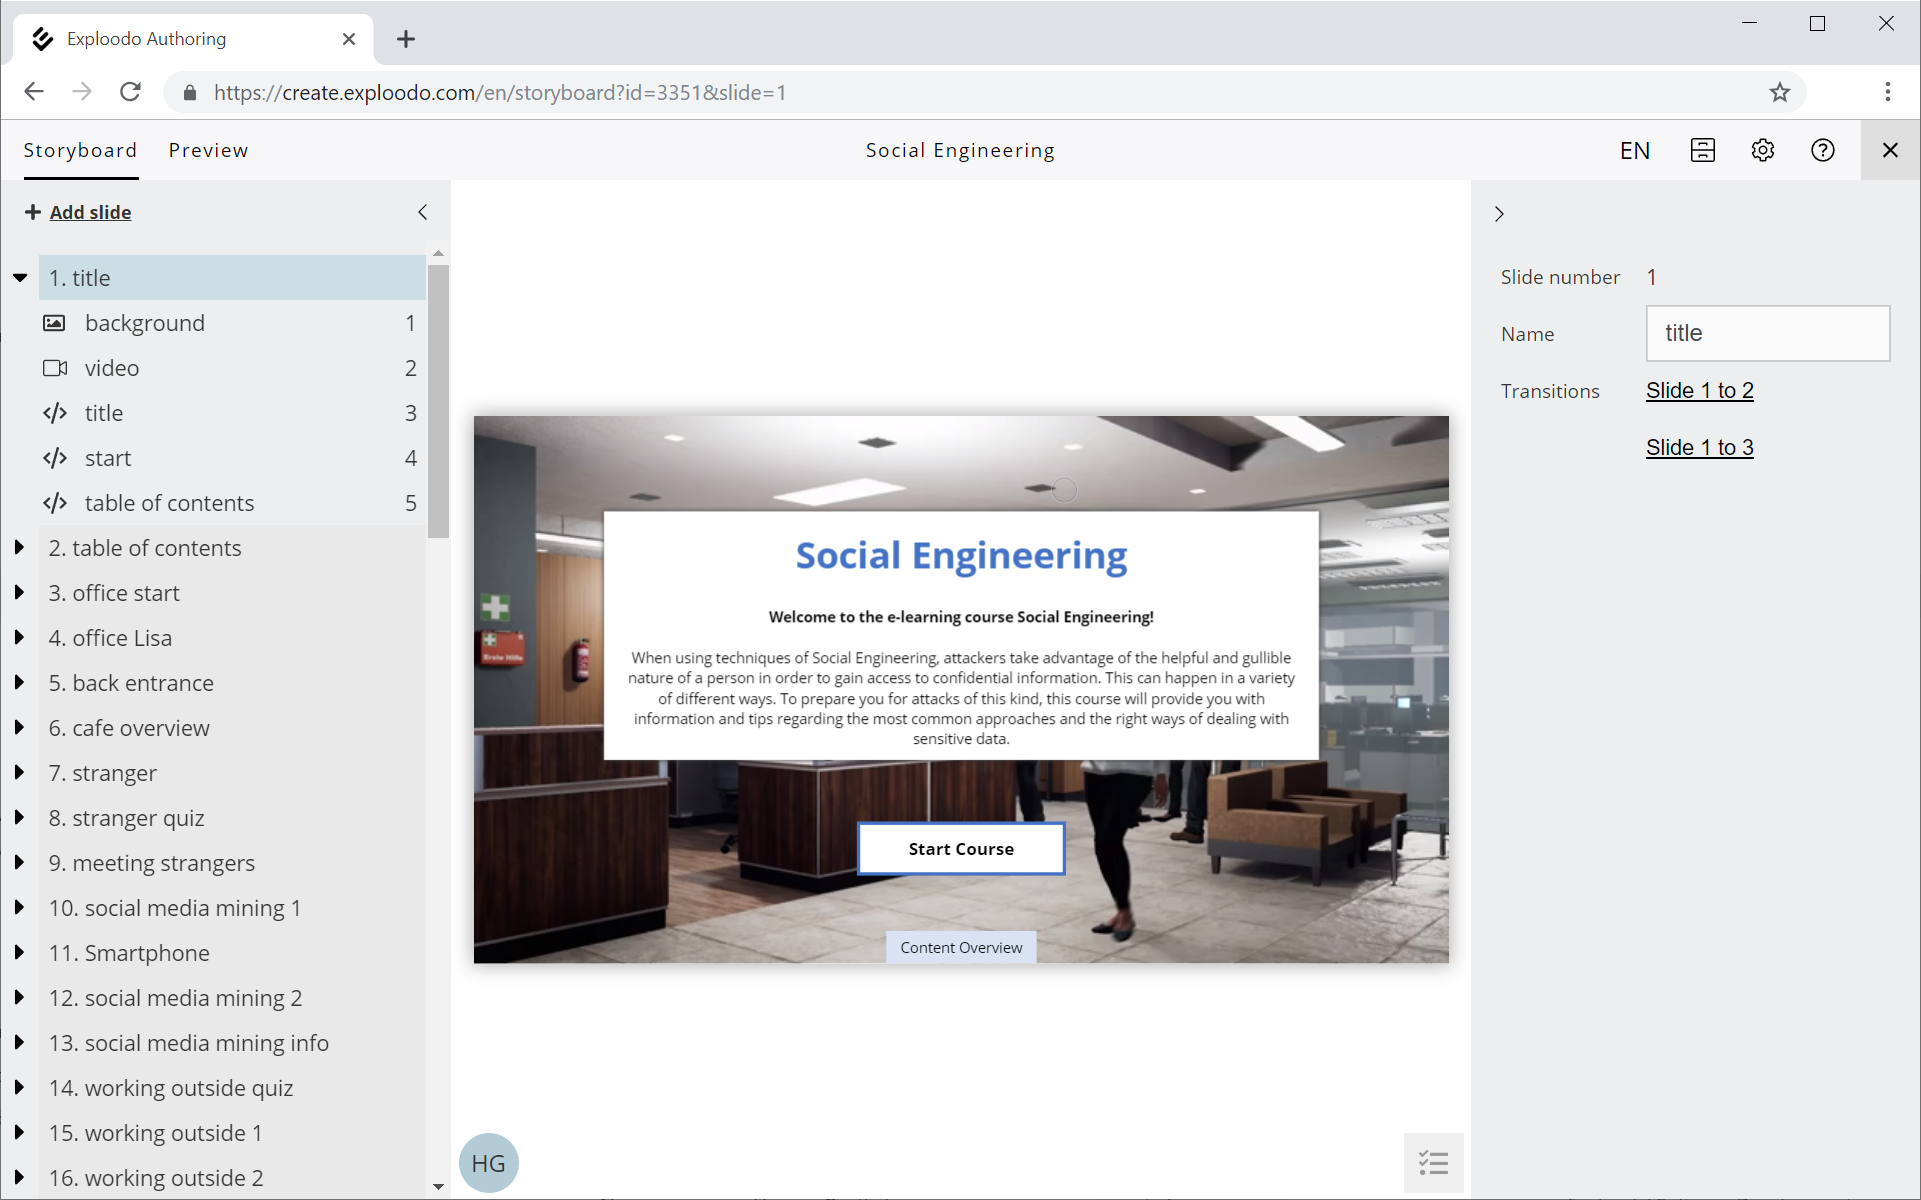
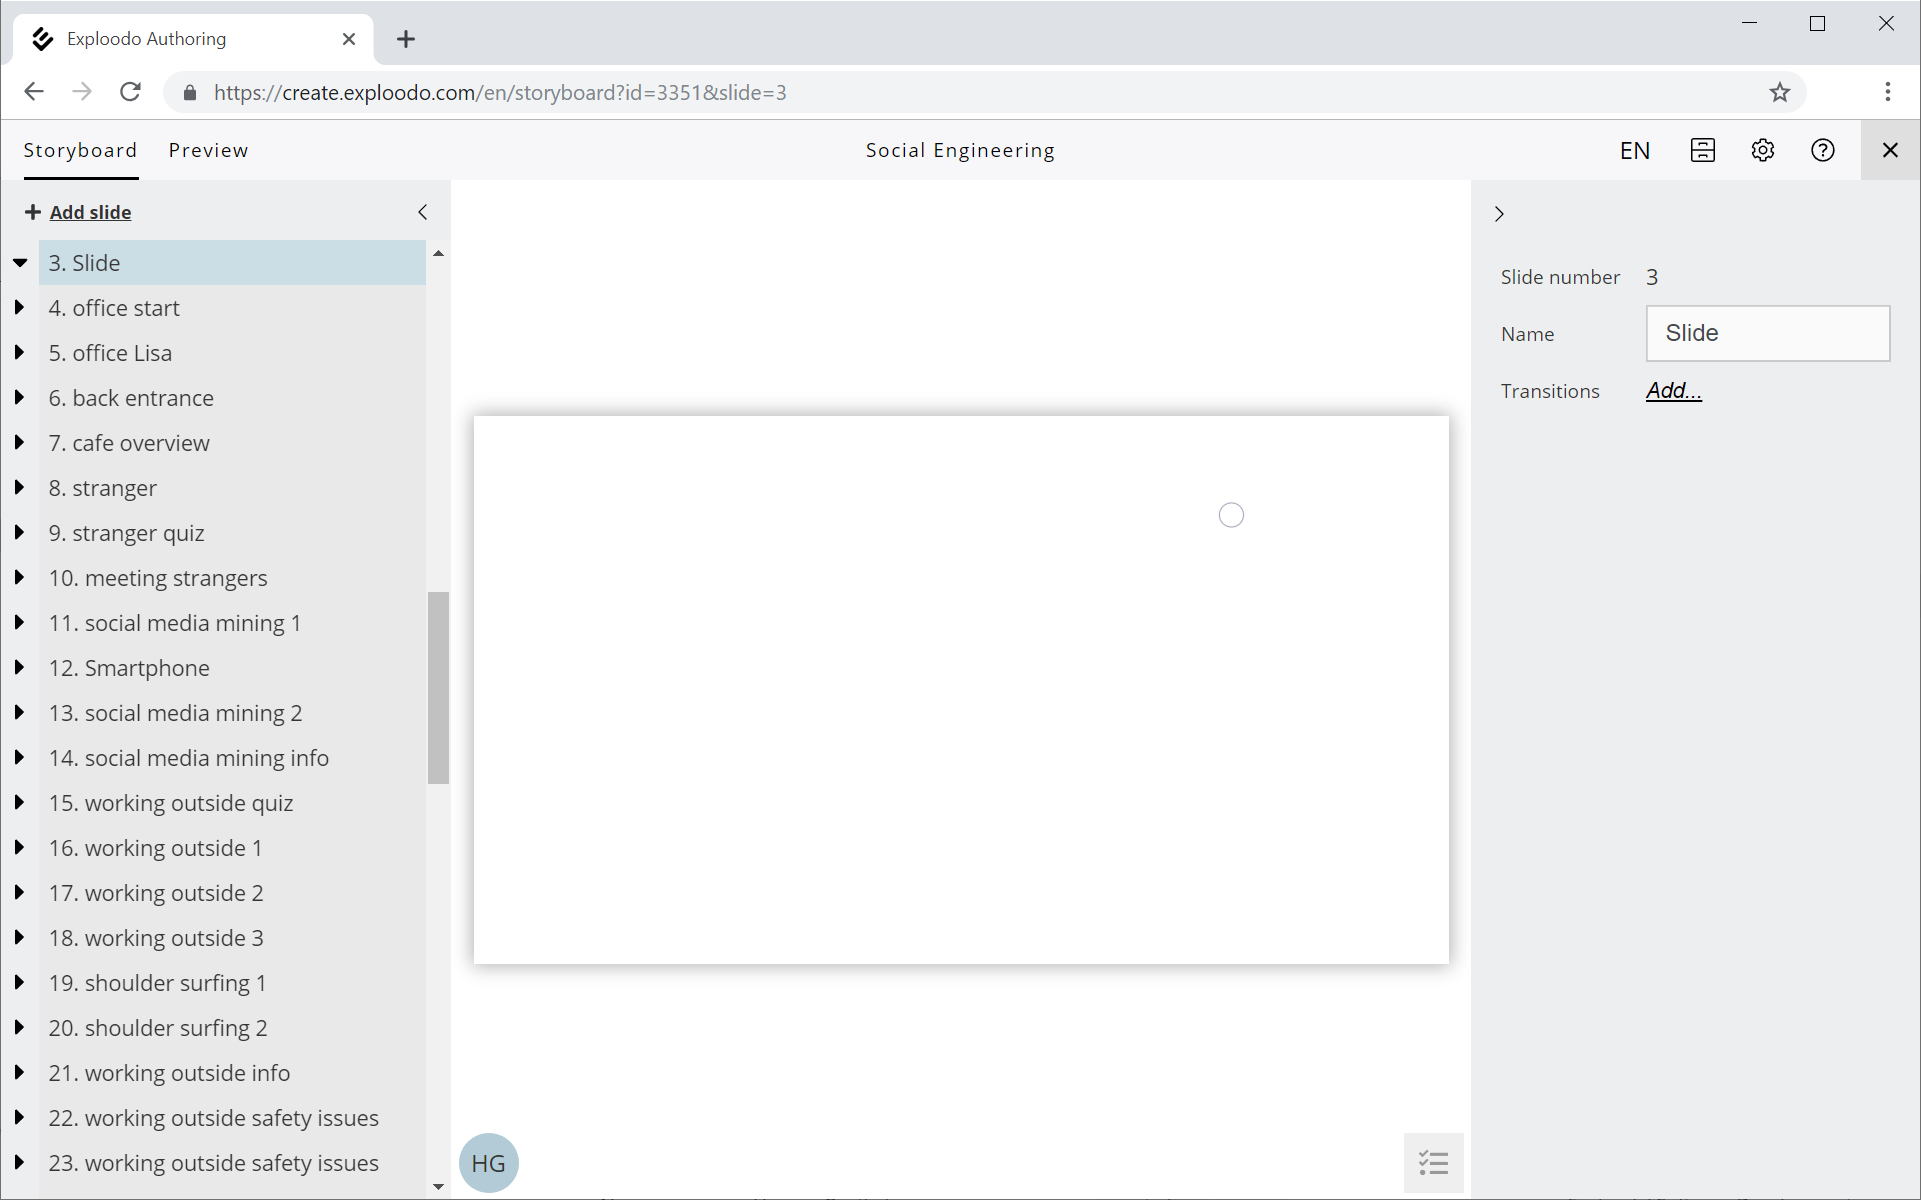
Click on "+ Add slide" at the top of the side menu on the left to add another slide after the one you have selected. If you select a slide in the side menu on the left, various editing options will appear on the right-hand side of your browser window, such as slide name and transitions.
- Tip: You can also change the name of your slide by double-clicking on the slide in the side menu on the left.
- Tip: If you select a slide in the side menu on the left and right-click on it, you can copy it via the context menu.
- Tip: If you want to change the order of your slides in the side menu on the left, you can just select your slide and drag it to the desired position above or below another slide.
Deleting slides
In order to delete a slide, select it in the side menu on the left and right-click on the slide to open the slide menu.
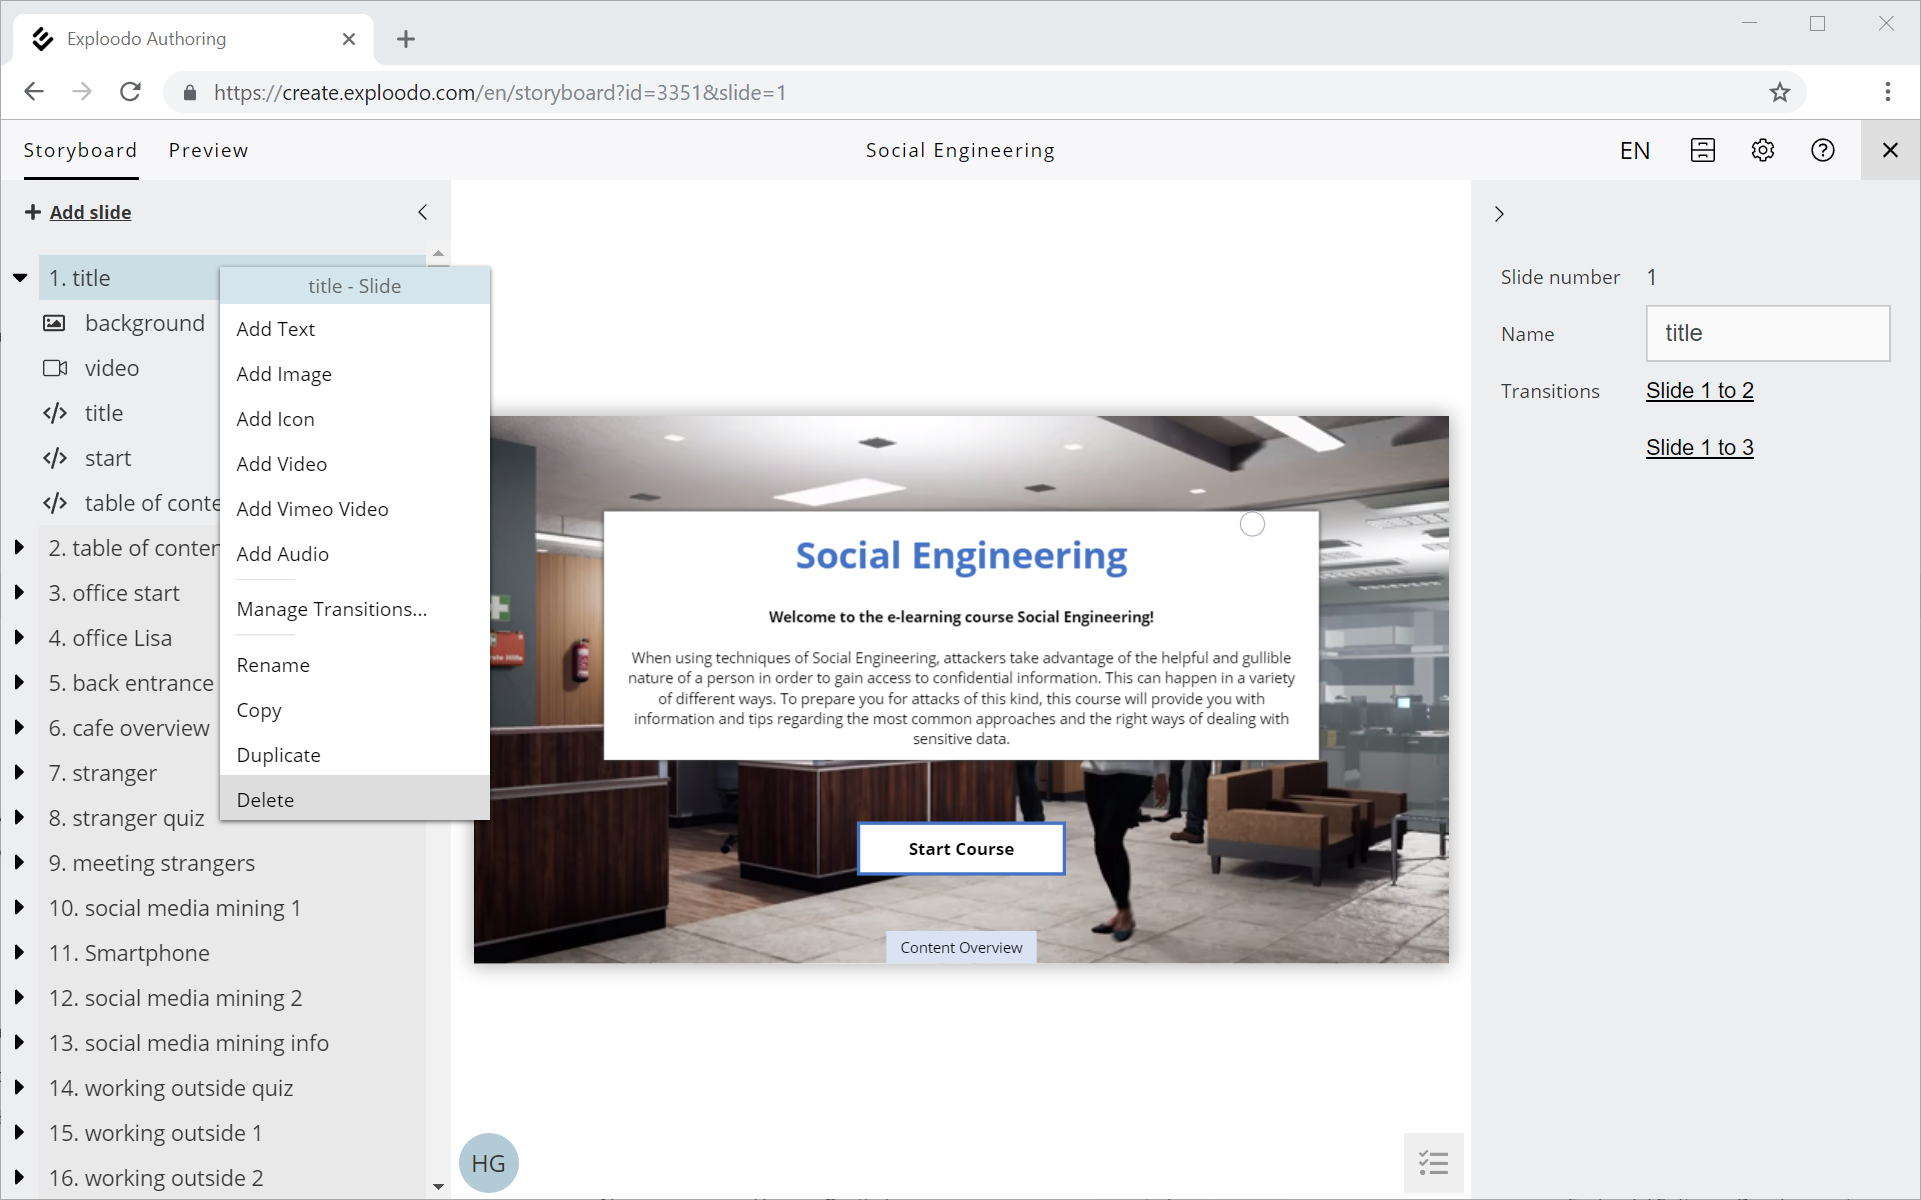
Click on "Delete" in the context menu. Attention: By clicking on "Delete", you will also delete all the content items on the respective slide!
- Tip: You can also use the keyboard button "Delete" to delete a slide.
2. Creating and editing contents (components)
You can create the following types of content items:
- Text
- Images
- Icons
- Video
- Audio
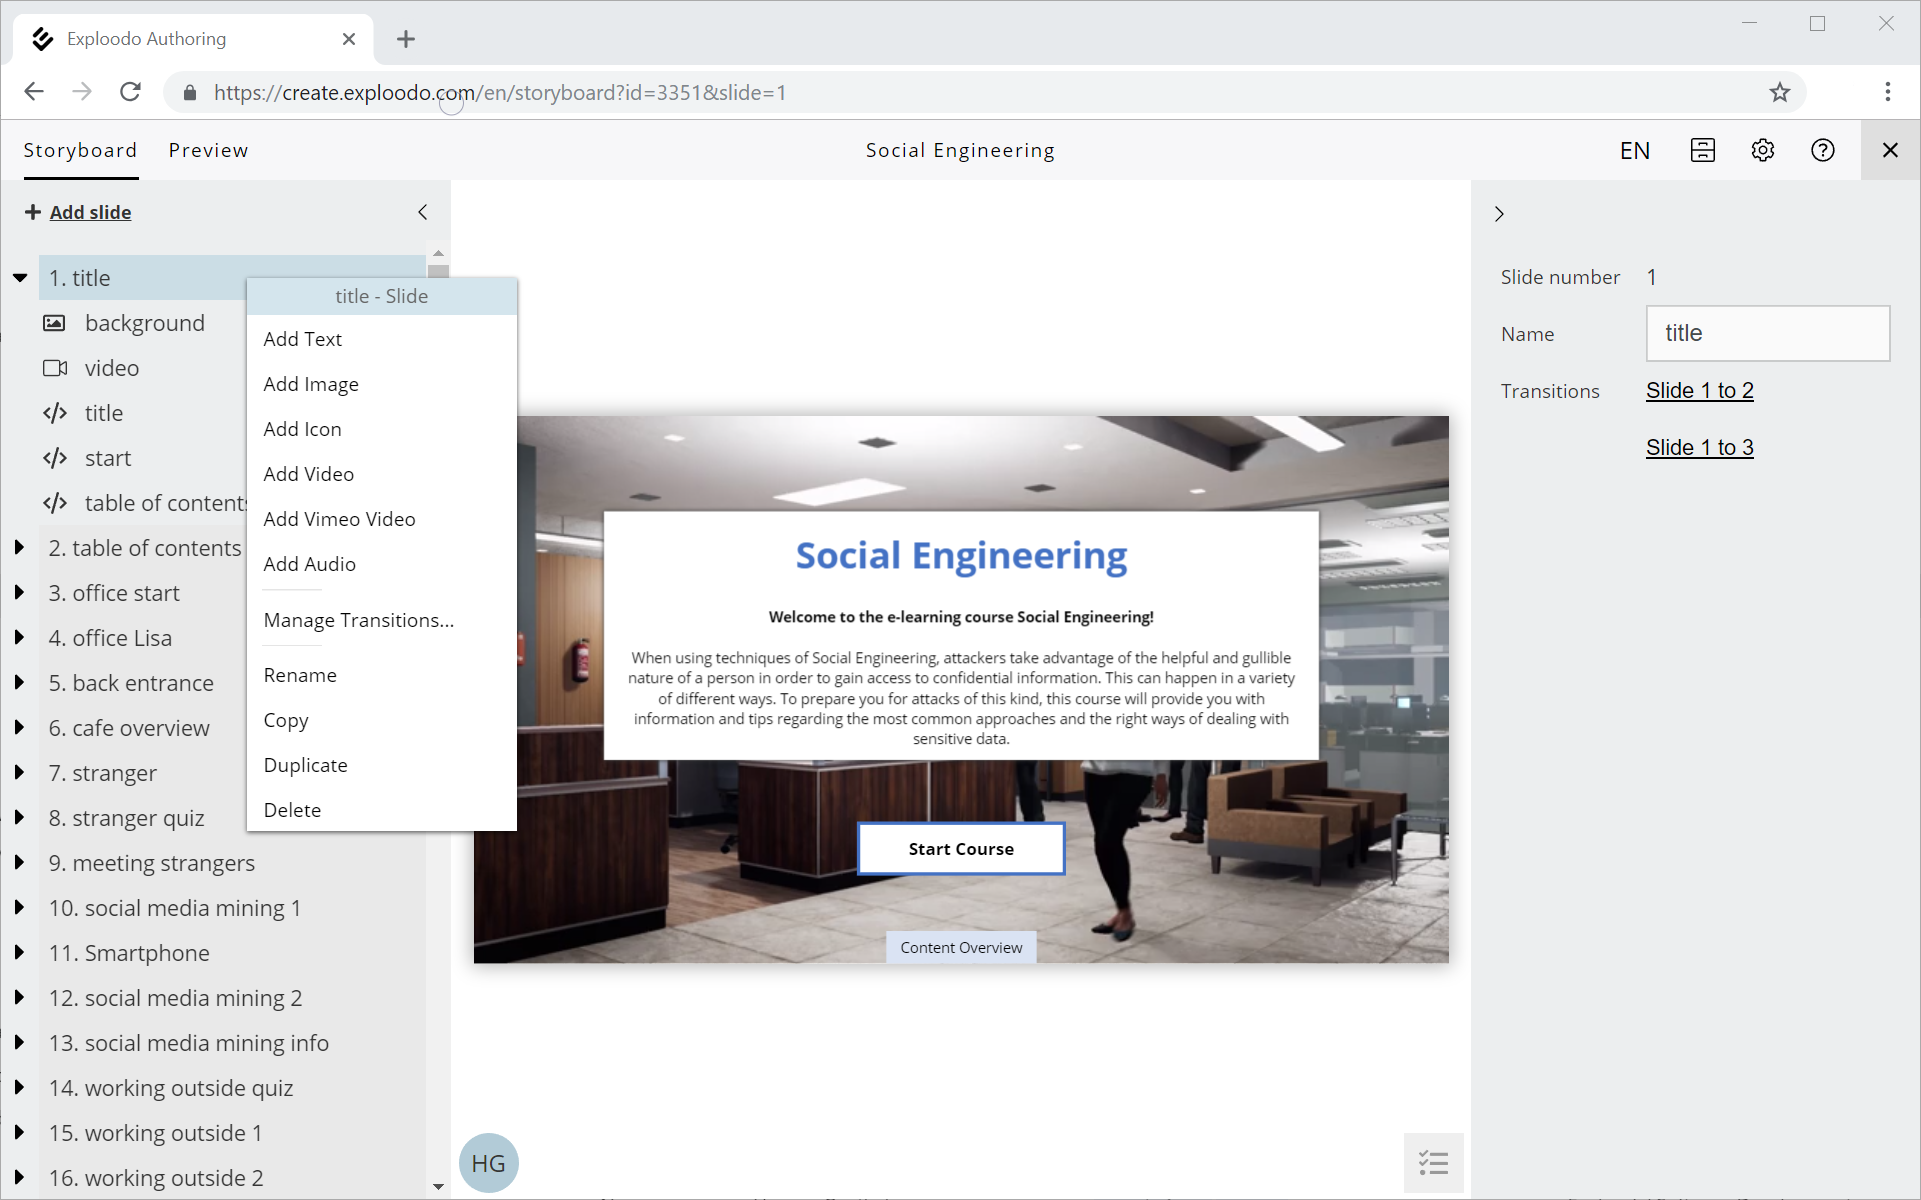
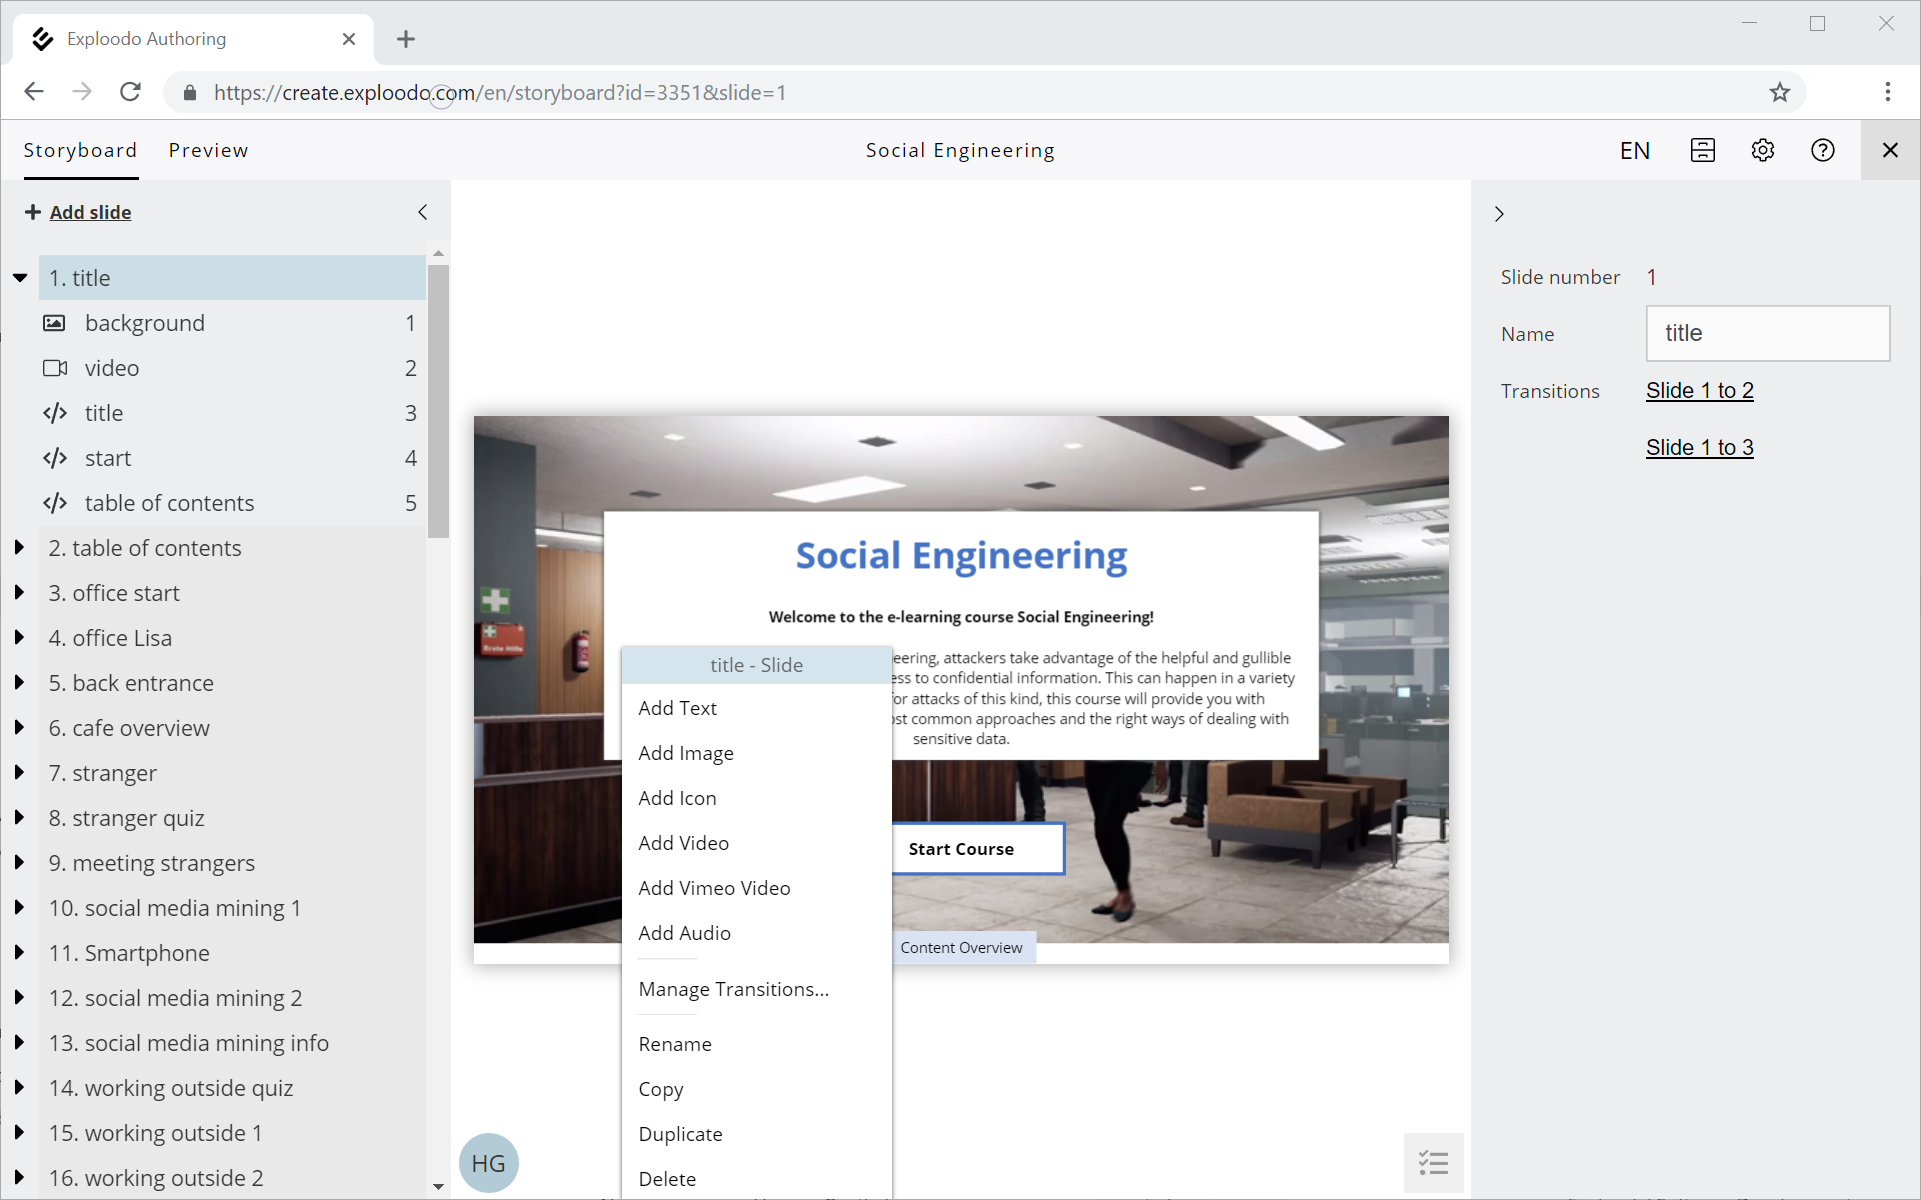
In order to create a new content item, select a slide in the side menu on the left, right-click to open the slide menu and choose your desired type of content item.
- Tip: In order to change the layer in which content items will be displayed (z-index), select the content item in the side menu on the left and drag it to the desired position above or below another content item. Example: You want to place a text component on top of an image.
You can also create content items by right-clicking on an empty area on a slide.
- Tip: If you select a content item and right-click on it, you can also copy it (or you can use the keyboard shortcuts CTRL+C to copy and CTRL+V to paste it).
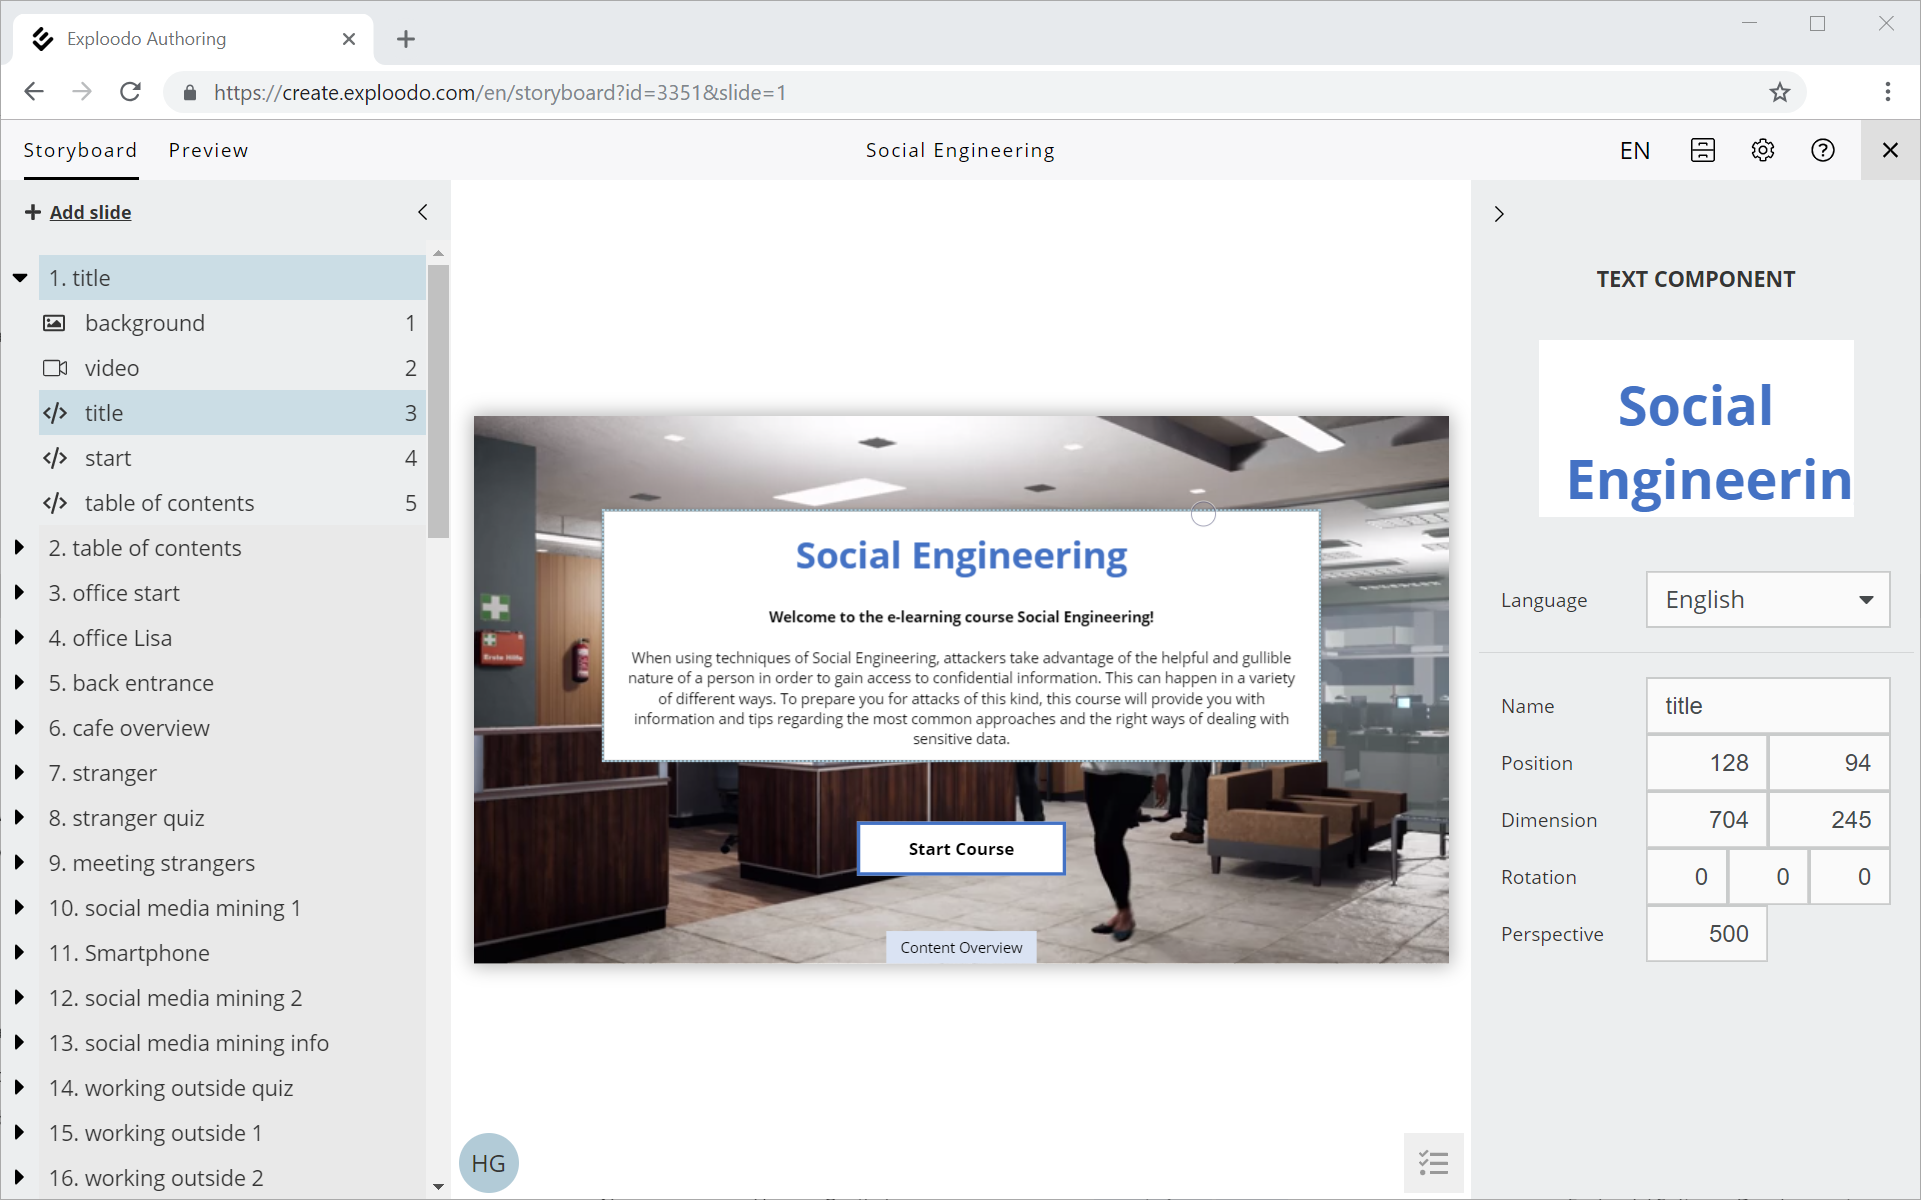
New content items will be placed at the border of your slide. In order to edit a content item, double-click on it. Depending on the type of your content item, on the right-hand side of your browser window, various additional editing options will appear, such as name, position, dimension etc.
- Tip: You can also change the name of your content item by double-clicking on the content item in the side menu on the left.
In order to delete a content item, hover over the content item with your cursor, open the content menu by right-clicking on it and select "delete".
- Tip: You can also use the keyboard button "Delete" to delete a content item.
Text
Select a slide in the side menu on the left. Right-click on an empty area on the slide and select "Add Text" in the menu. A new empty text component will be created on your slide. Double-click the empty text component to edit the text. You can now enter your text and format the text box using markdown syntax (see https://github.github.com/gfm/).
Image
Select a slide in the side menu on the left. Right-click on an empty area on the slide and select "Add Image" in the menu. A new empty image component will be created on your slide. Double-click the empty image component to choose your image. You can either use an existing image (which has been uploaded already) or upload a new one from your own PC.
Supported file formats: JPG, PNG, GIF
Icon
Select a slide in the side menu on the left. Right-click on an empty area on the slide and select "Add Icon" in the menu. A new empty icon component will be created on your slide. Double-click the empty icon component to choose an icon. A pop-up will appear in which you can choose from a list of pre-defined icons.
Video
Select a slide in the side menu on the left. Right-click on an empty area on the slide and select "Add Vimeo Video" in the menu. A new empty video component will be created on your slide. Double-click the empty icon component to choose a video. You can either use an existing video (which has been uploaded already) or upload a new one from your own PC.
Supported file formats: the common video formats.
Audio
Users have the option to integrate mp3 files (e.g. for dubbing their courses). In order to do so, select a slide in the side menu on the left. Right-click on an empty area on the slide and select "Add Audio" in the menu. Double-click the empty audio component to choose an audio file. You can either use an existing audio file (which has been uploaded already) or upload a new one from your own PC.
Supported file formats: MP3
3. Creating interactions
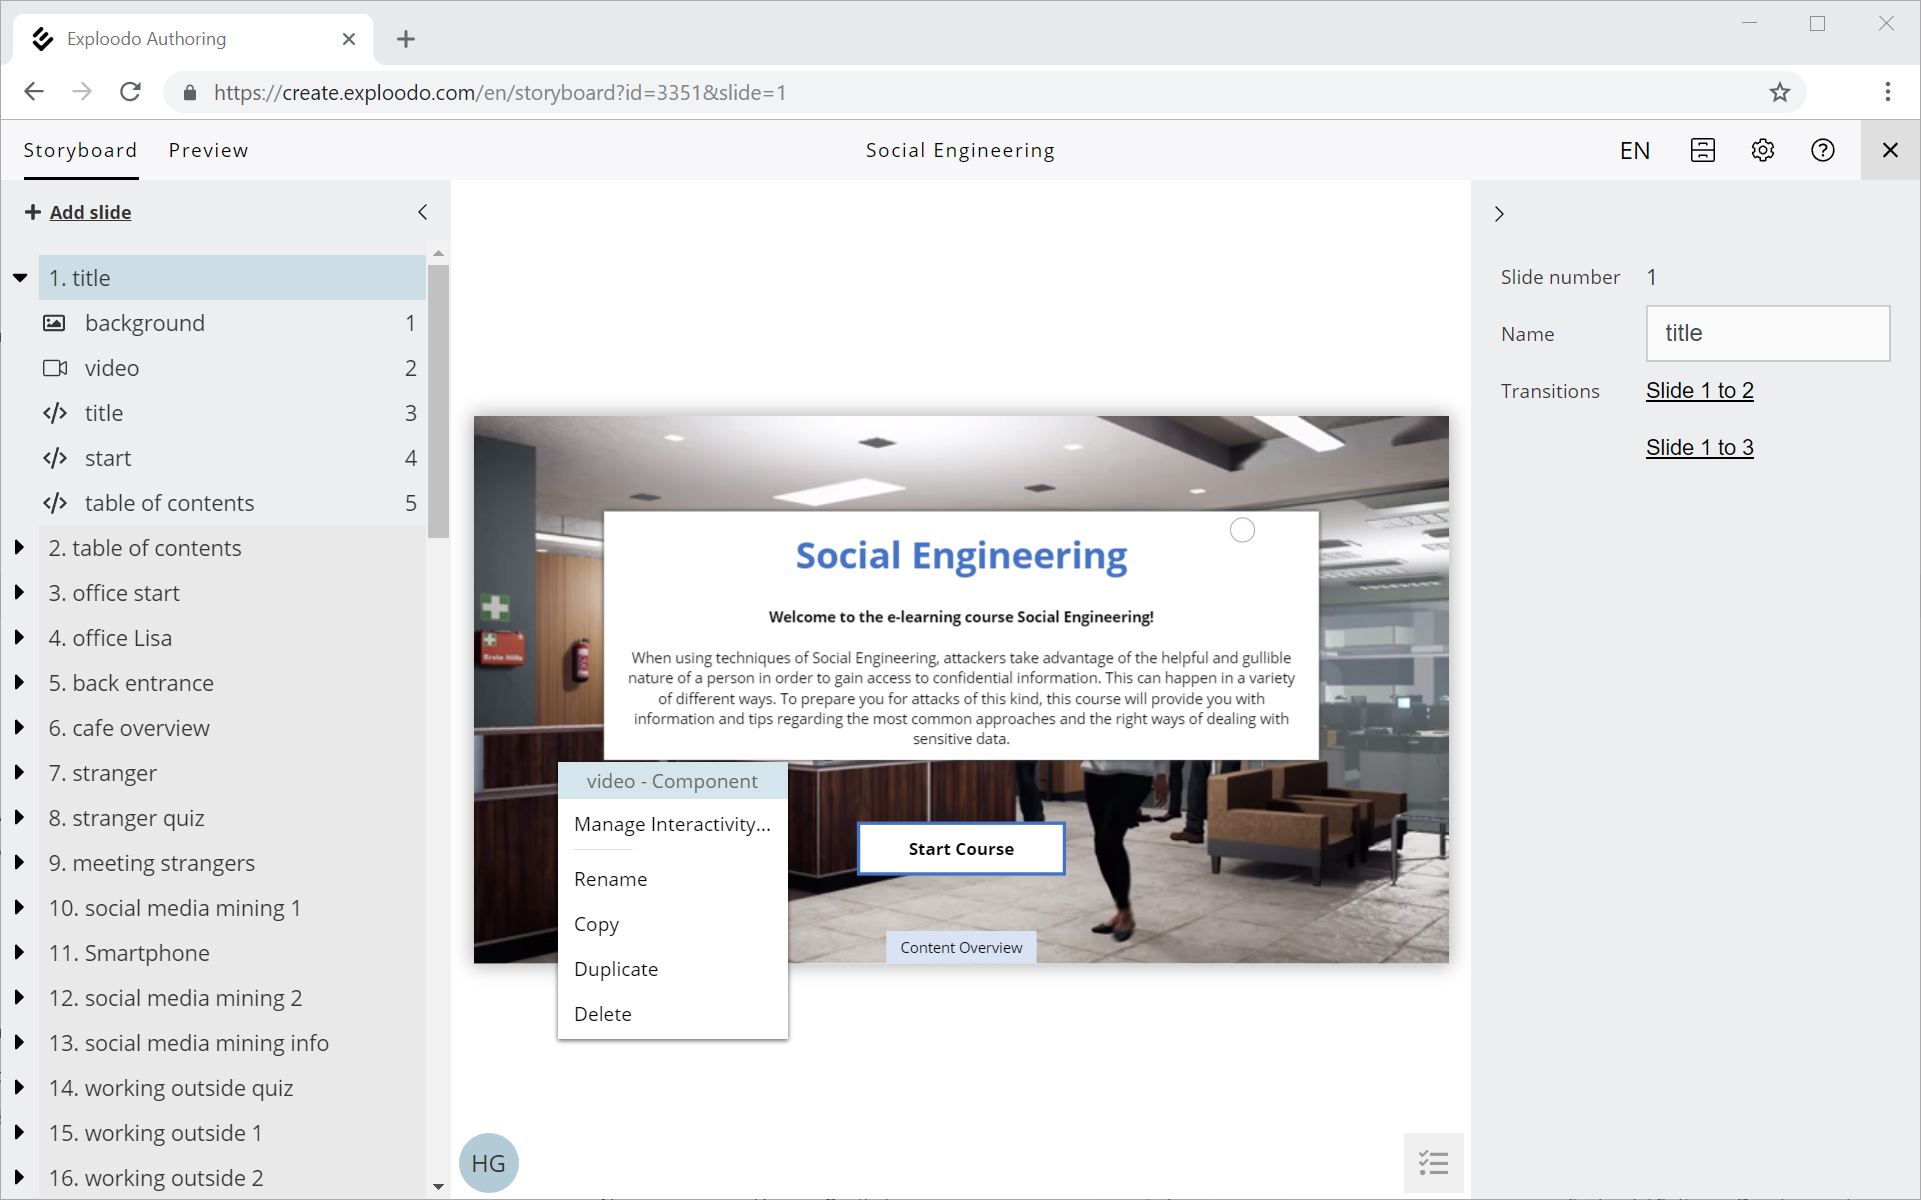
For all types of content (text, image, icon, video, Vimeo video and audio), you have the option to add interactions. To do so, right-click on a content item on your slide and select "Manage Interactivity" in the menu.
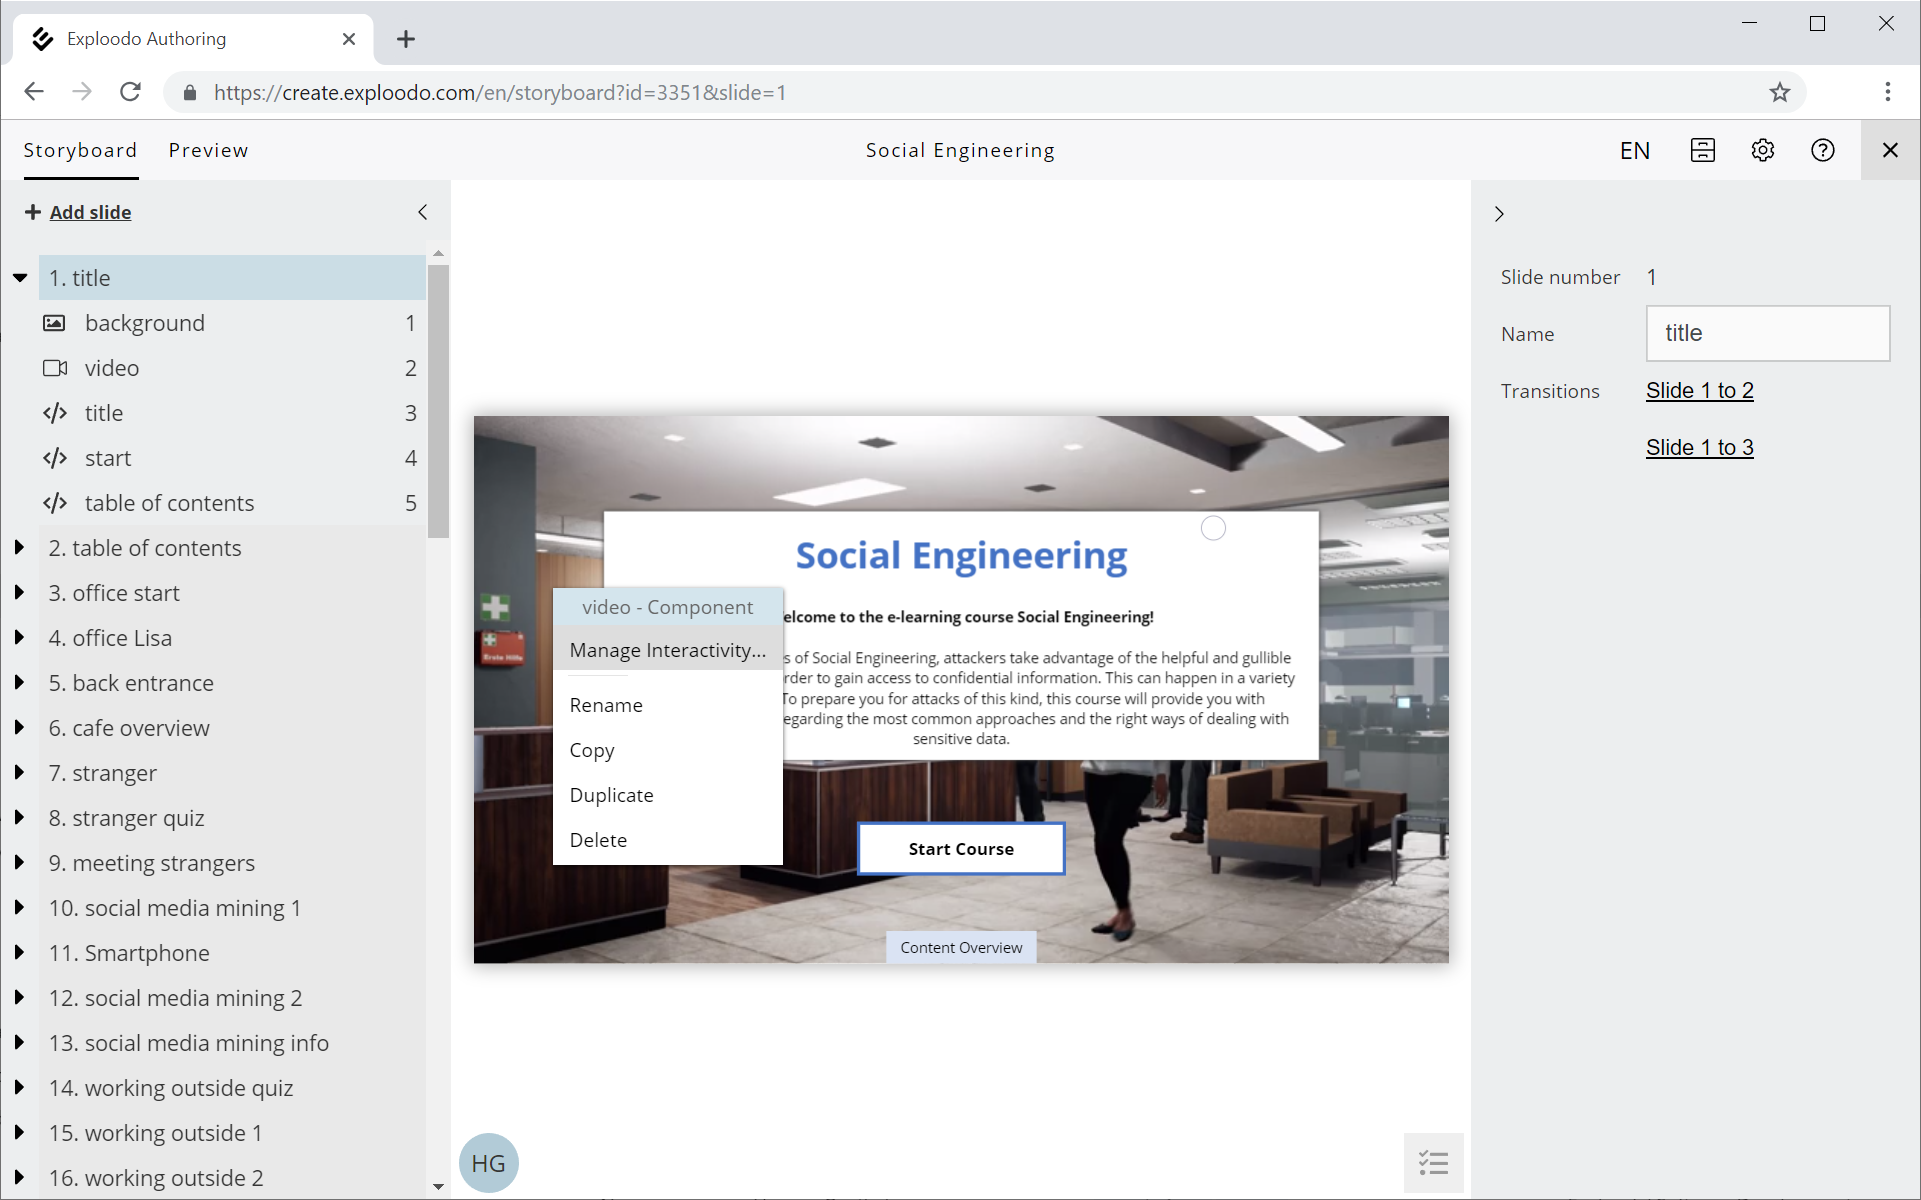
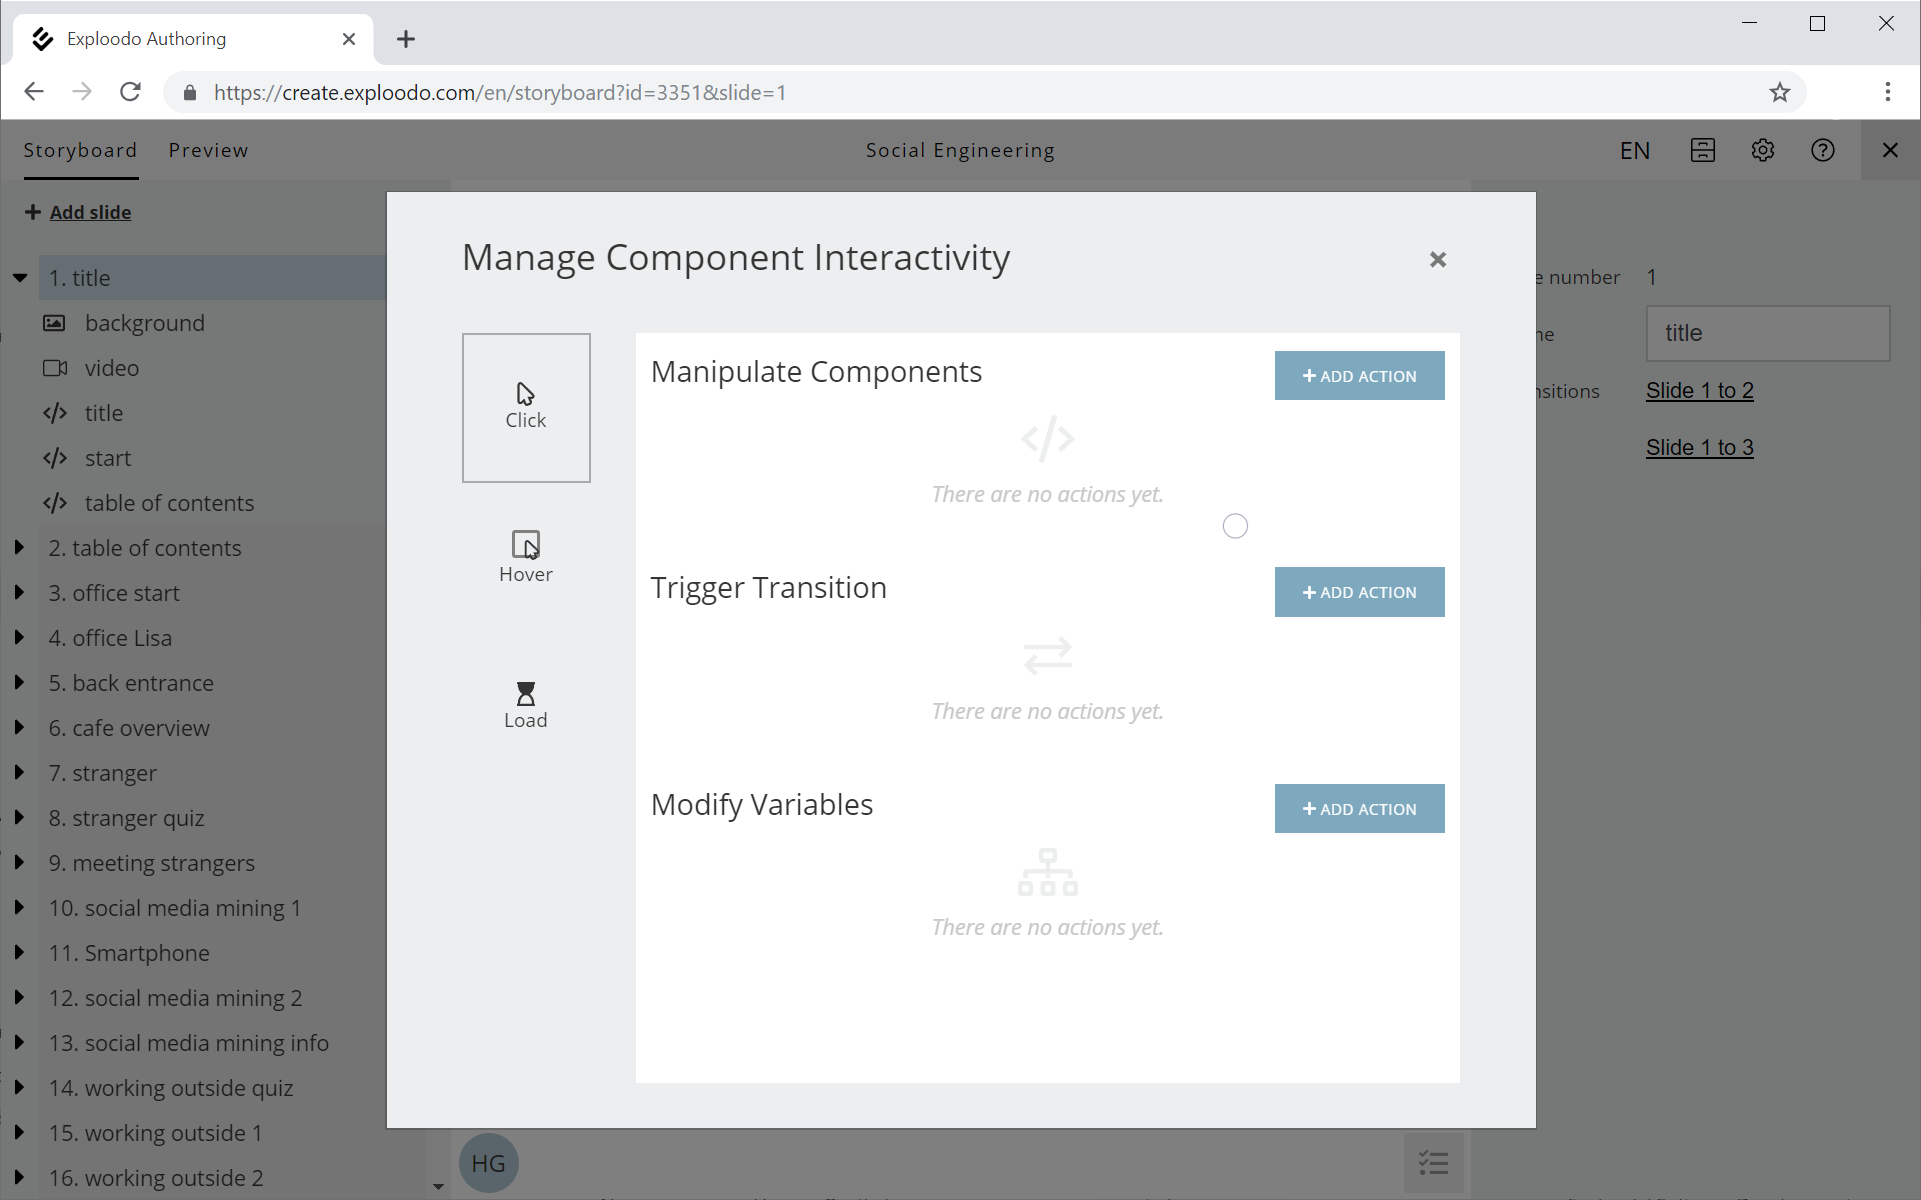
First, choose which event should trigger your interaction by clicking on one of the following events (see screenshot below):
- Click: triggers the interaction when the content item is clicked
- Hover: triggers the interaction when hovering over the content item with the cursor
- Load: triggers the interaction when the component loads
- Start (only for video and Vimeo video components or audio components): triggers the interaction when the video or audio file starts
- Stop (only for video and Vimeo video components or audio components): triggers the interaction when the video or audio file stops.
Second, define the interaction you want to trigger by clicking on "Add Action":
- Manipulate Components
- Trigger Transition*
- Modify Variables**
* If at this stage you do not have any slide transitions to choose from, you first have to create a transition. All the details on doing so can be found in the next section "Creating and Editing Transitions".
** If at this stage you do not have any variables to choose from, you first have to create variables for your course.
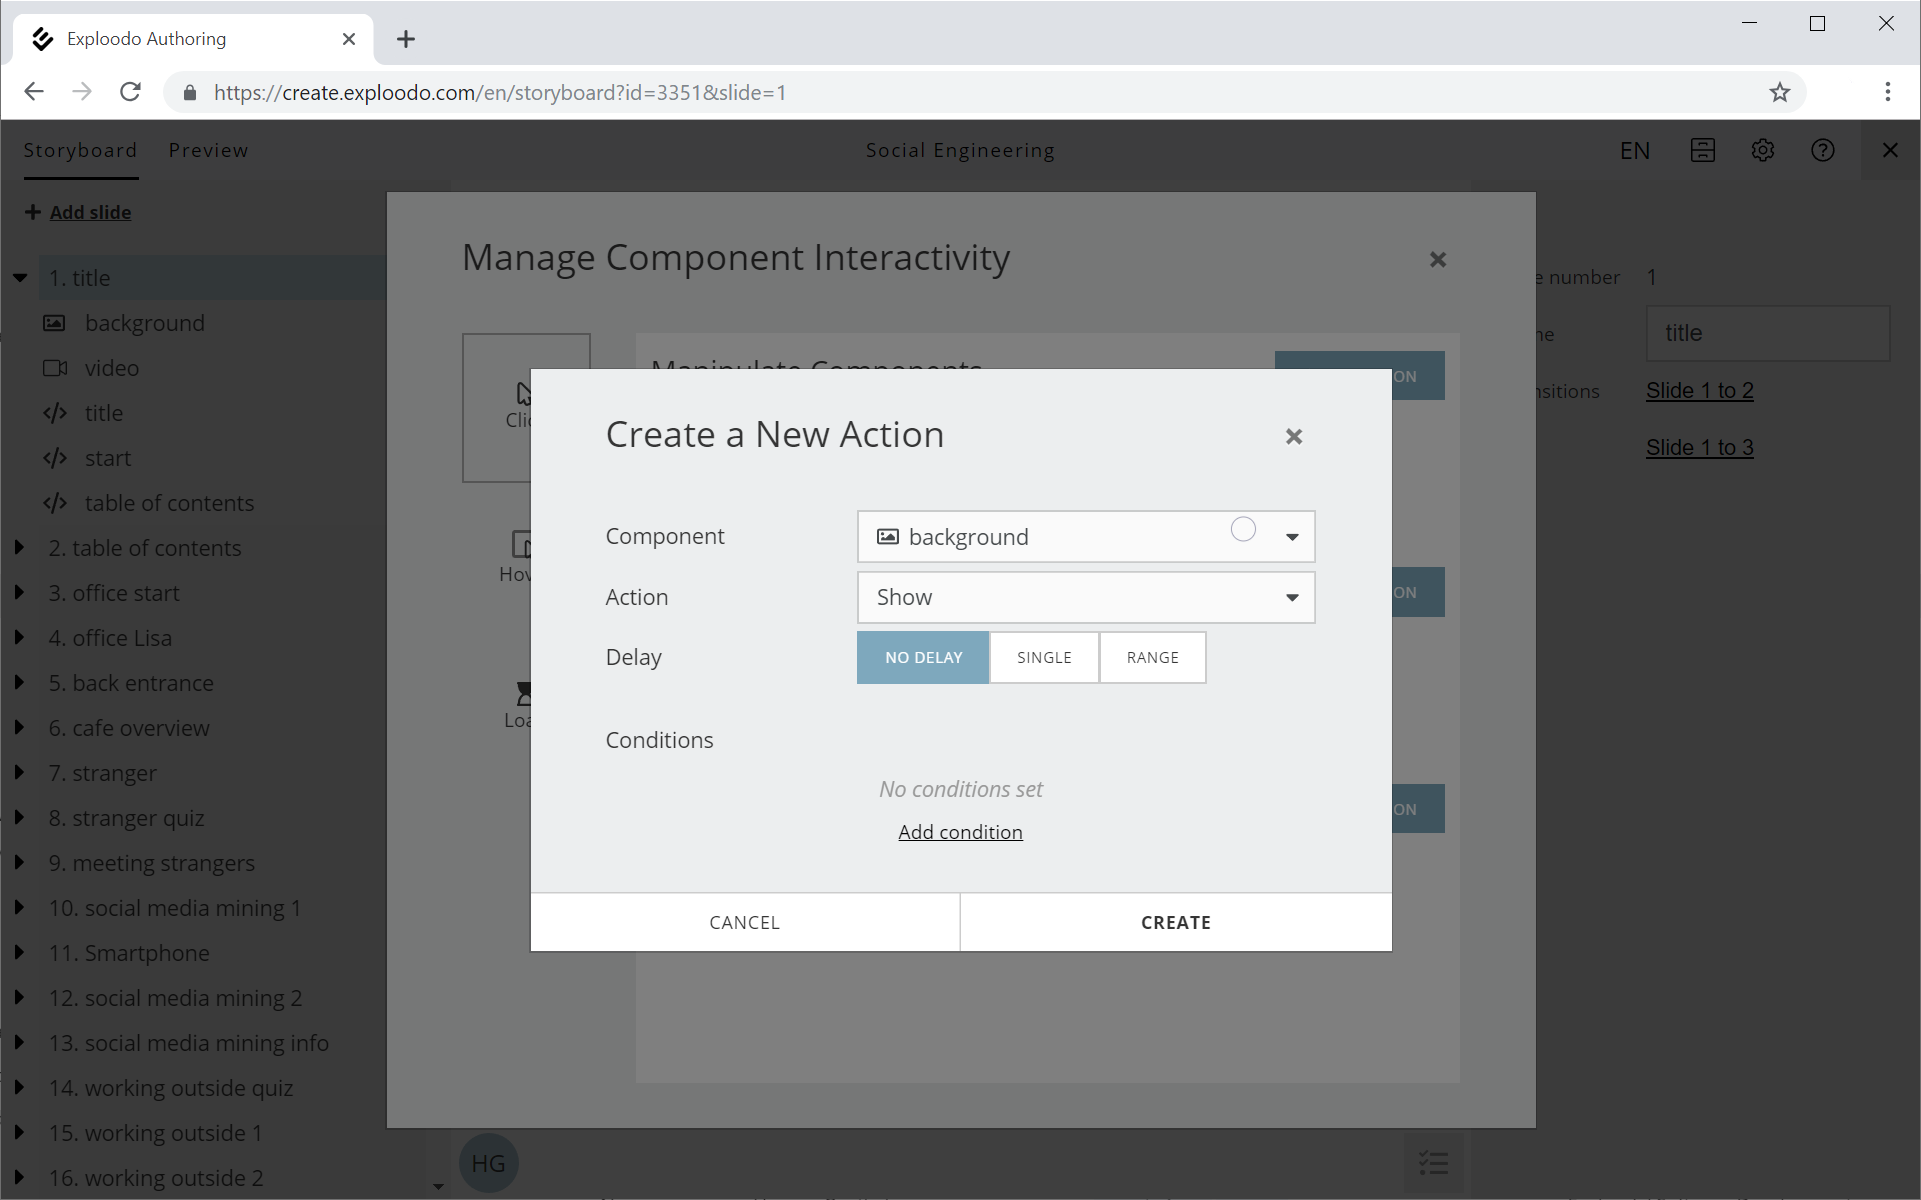
Manipulating components
In the menu "Manage Component Interactivity", you can create actions to manipulate components on your slide. Depending on the type of component, you can define various actions such as showing or hiding components or starting, stopping or jumping to a certain position in videos, Vimeo videos or audio components.
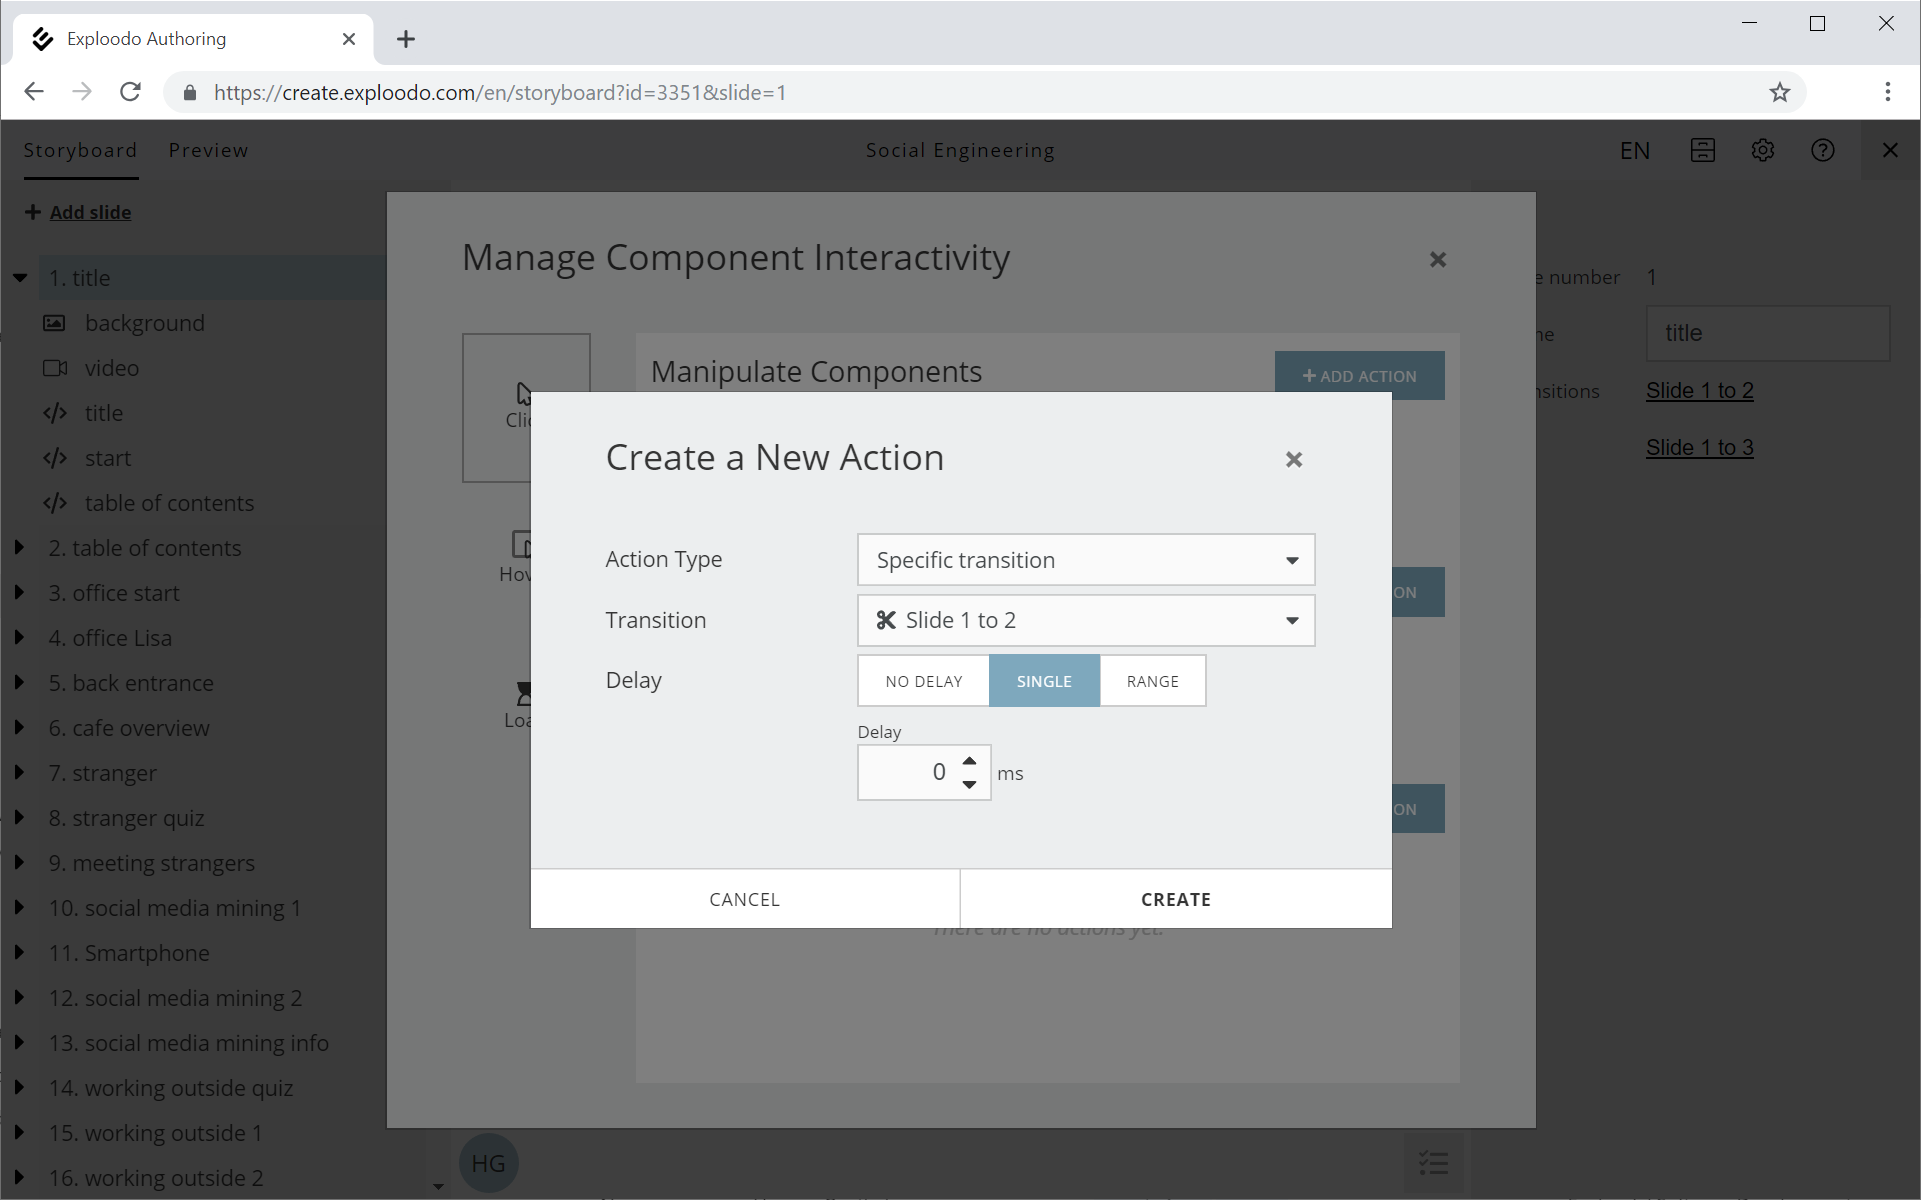
In addition, you can add delays for an action:
- No delay: The action will be performed immediately.
- Single: The action will be performed after a delay of x ms (milliseconds).
- Range: The action will be performed after a random delay within a certain time interval.
Example: If you want to loop a video component when a slide is loaded, add the action "start" to the load event of the video component and also add the action "start" to the stop event of the video component. In this way, the video will start when the slide is loaded and start again when the video ends.
Triggering transitions
In order to navigate back and forth between two slides, instead of using a transition between slide x and slide y, you can use the options "next slide" and "previous slide". If you select "next slide" a transition to the next slide "in your browser history" will be triggered. In this case, you can only define one transition from the selected slide (to the next slide in your browser history), otherwise no transition will be triggered. If you select "previous slide", a transition to the previously displayed slide (the previous slide in your browser history) will be triggered.
Example: Your course contains a content overview. After clicking the button "Close content overview", you want users to be directed to the last slide they were looking at.
4. Creating and editing transitions
Creating transitions
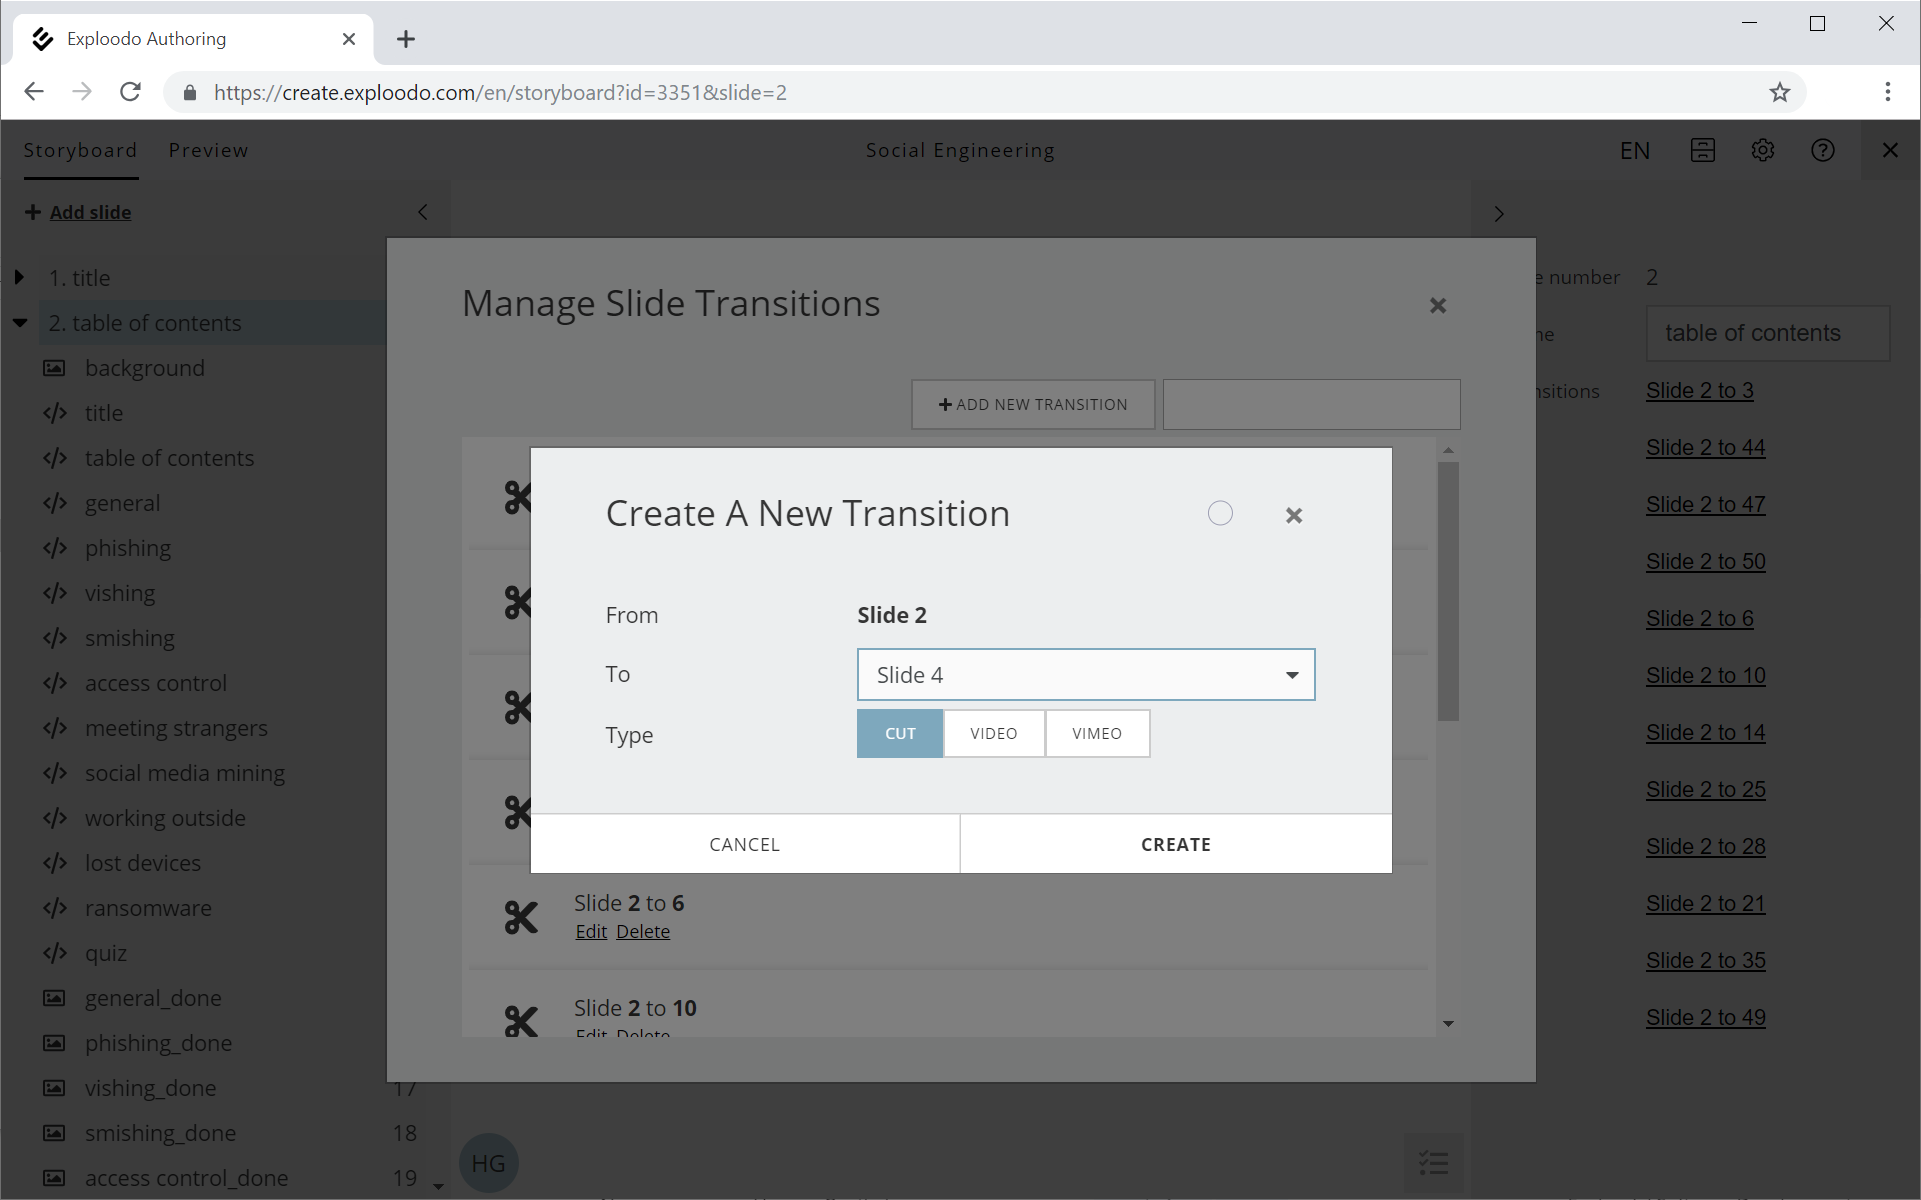
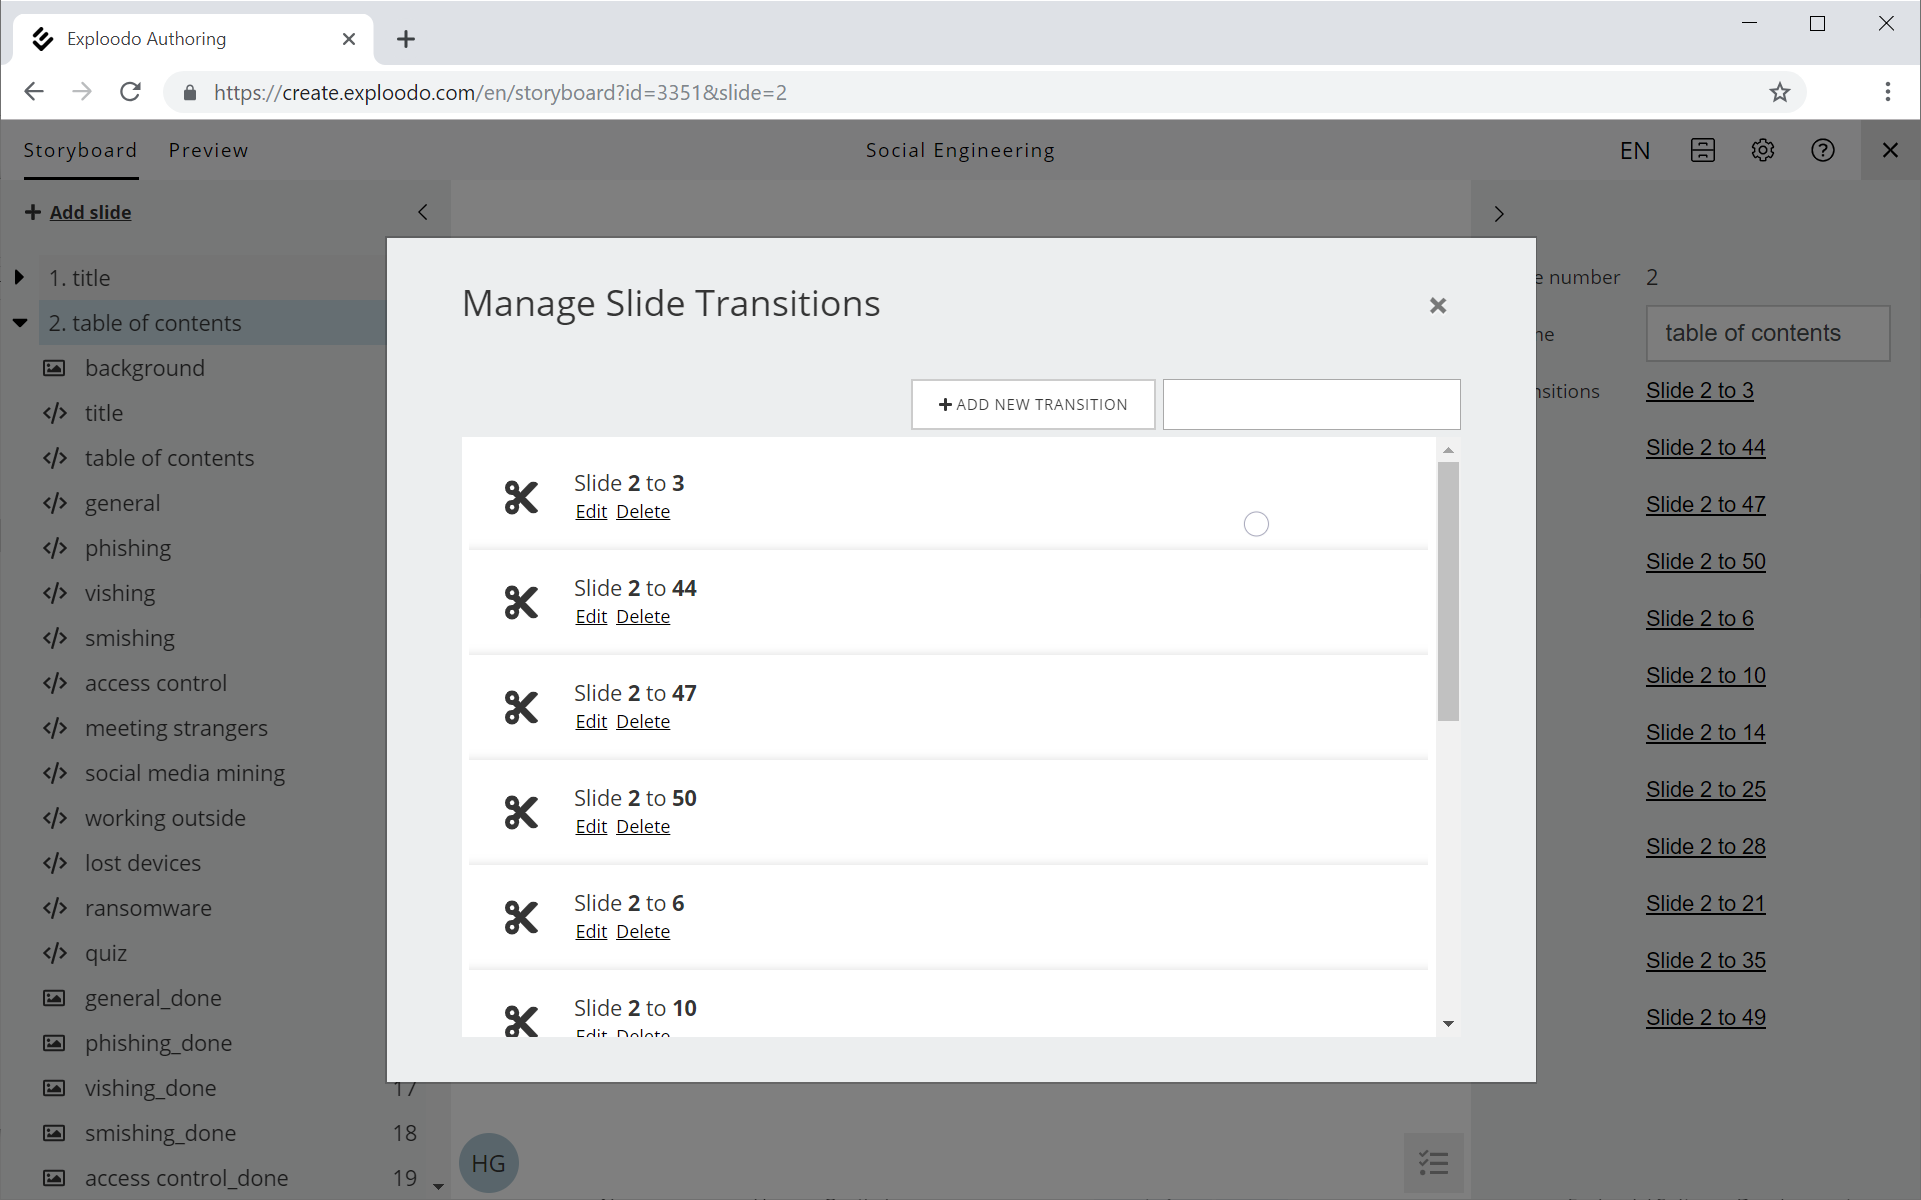
If you want to trigger a transition via an interaction, you first have to create the transition for the respective slide. Select a slide in the side menu on the left and click on "Transitions Add..." on the right-hand side of your browser window. If there are some existing transitions already, just select one of them to open a pop-up window called "Manage Slide Transitions".
In this window, you can see all the available slide transitions for the selected slide. In order to navigate between two slides, you need a separate transition for each direction.
Example: If you want to jump from Slide 1 to Slide 2 and back from Slide 2 to Slide 1, you need two separate slide transitions. By clicking on "Create a new transition", you can define a new transition from the selected slide to another slide.
Next, you have to define which type of transition you would like to trigger:
- Cut
- Video transition: In this case, a video will play when navigating from one slide to the next, for instance the camera could move from one view of the scene to the next.